
Armada Setup Guide
Table of contents
Best devices for Armada
If you’re curious what the best devices are, here’s a few of my top picks:
- Snapdragon 8 Elite Device! AYN Odin 3 – (Review)
- Best All-Rounder Device! AYN Odin 2 Portal – (Review)
- Dual Screen Device! AYN Thor – (Review)
What is Armada?
A lot of people talk about turning their Android handhelds into little mini Steam Decks using apps like GameNative or GameHub and so on.
I’m still of the mind that no, these are not little mini Steam Decks – there’s so many differences and that oversells this experience quite a bit and makes people buy devices that are overpromised for features.
But, how about having a little mini Steam Deck experience instead? So not overselling performance, or features, but transforming your Android handheld into a SteamOS-like device running Linux.
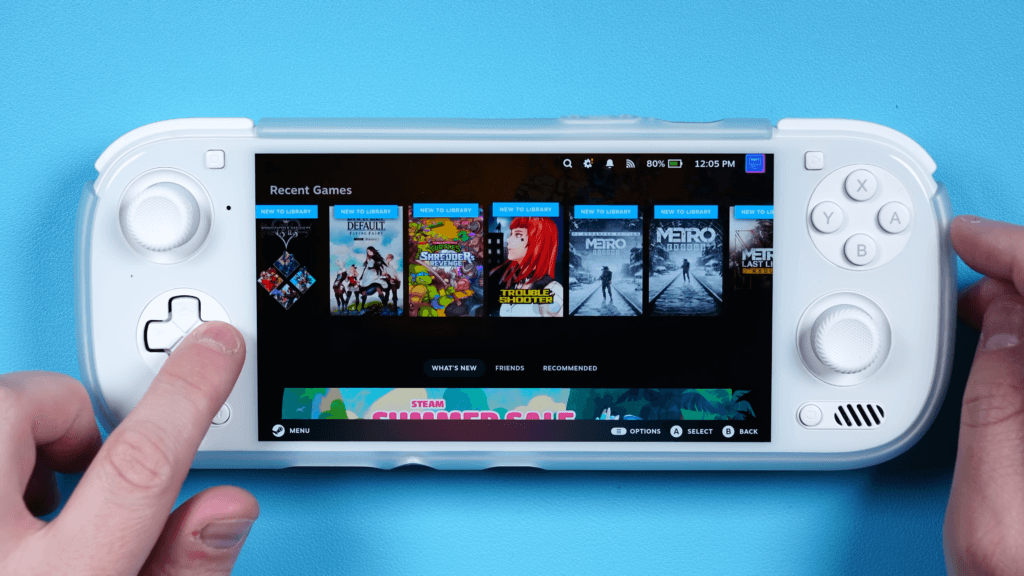
Oh and all of this without ruining the Android side of things.
Armada is a project created by virtudude that lets you install SteamOS on ARM handhelds using Steam, Fex and CachyOS, which let’s you essentially finally have that little mini Steam Deck OPERATING SYSTEM like experience, all booting from your SD card.
Nothing being oversold here.
The main advantages and reasons you would use this right now is for PC games – all those indies and everything that you’d want to use GameNative or GameHub for. Do it here instead.
But also with it being ARM, you can install ARM versions of emulators through their Linux builds if they have them – so you can actually dive into emulation if you wanted to.
If you’re curious what’s the difference between this and something like ROCKNIX, Armada is modelled after SteamOS so it boots into Steam and Gamescope directly whereas ROCKNIX boots into EmulationStation and then runs Steam as an added app.
Depends what your goal is, but I find Armada to be easier to understand if coming from a Steam Deck.
Let’s talk about how to do this.
Device Support
First, you need to make sure your device is actually supported – do not proceed if it isn’t and don’t just use another device that isn’t yours as you can and will brick your device doing so.
You can see the list of supported devices here: https://github.com/virtudude/armada#supported-devices.
Installation
Now you are going to need an SD card, and if you want to actually have a good time, it needs to be an A2 speed SD card.
Let’s go ahead and download BalenaEtcher off the Balena website, it’s a program that will let us flash the Armada image to our SD card.
Just choose Download Etcher and then the option for your operating system, then install it and open it.
Then, on the Armada Github under releases, grab the latest release which is linked in the actual release notes under Download.
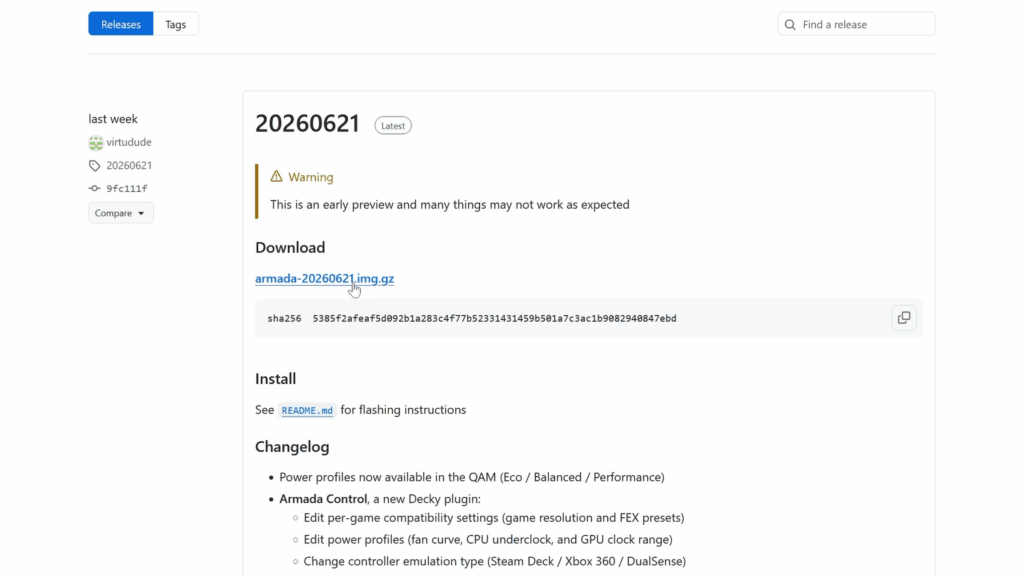
It’ll download that image file for us.
Head back to Balena and choose Flash from file and then choose the Armada image we downloaded.
Then for Select target, choose your SD card.
Then choose Flash and wait for it to finish.
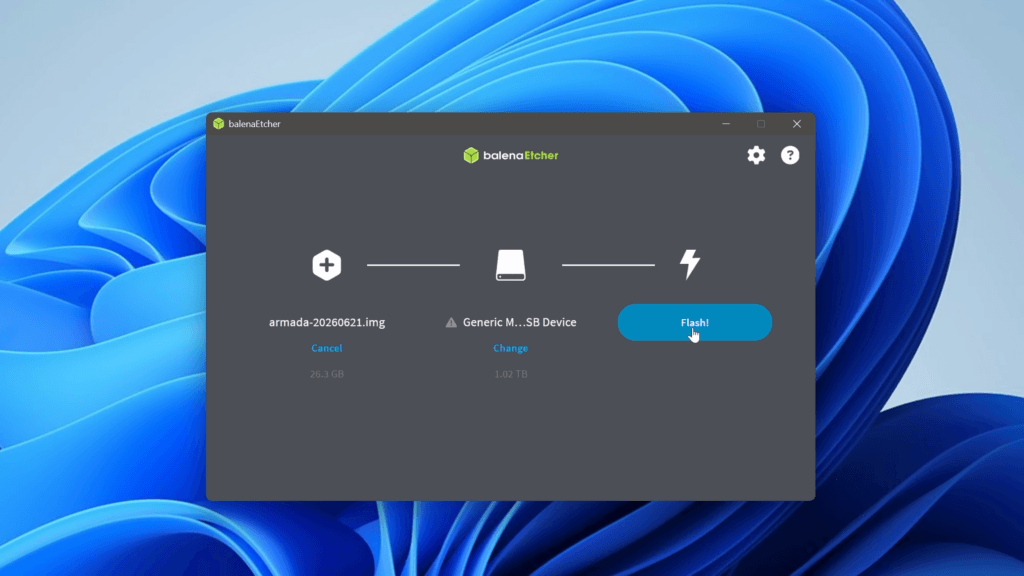
Flashing & Backing up the ABL
Once it’s done, insert the SD card into your device – it can be on that’s fine, then open a File Manager.
Go into the SD card labelled ARMADA and copy the rocknix_abl folder to the ROOT of your internal storage.
Now this part is different for each manufacturer, but for Odin’s or Thor, head to Android settings > Odin or Thor Settings > scroll to the bottom and select Run script as Root then select a script and you want to head to the internal storage > rocknix_abl folder.
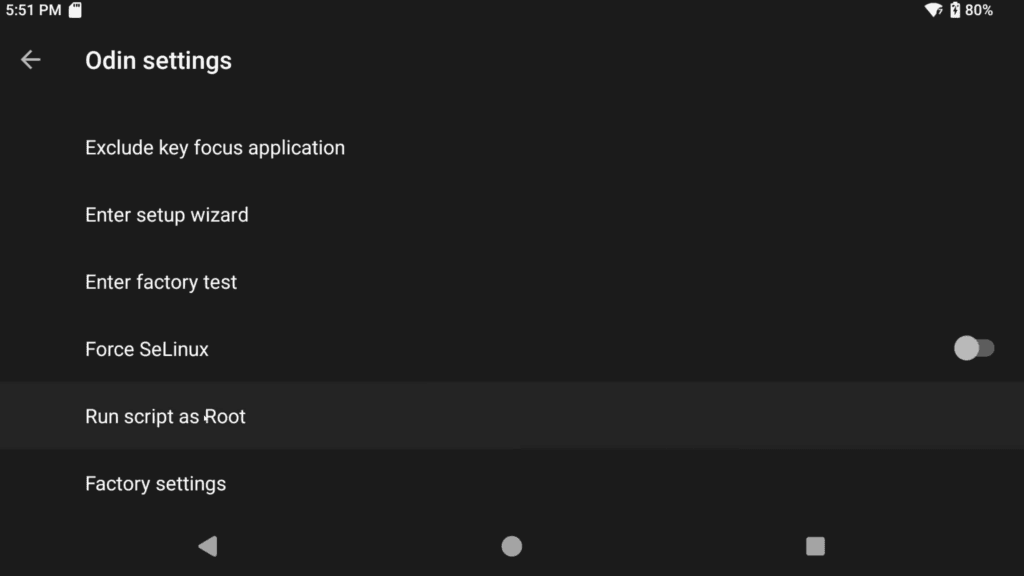
Now you need to choose the right SoC that matches your device – refer to the table on Armada’s Github to know.
Flashing the wrong SoC can brick your device, so triple check.
Then choose the backup_abl.sh file and choose Run.
Back in the file manager, head into that folder you chose the file in and you’ll see abl_a.img and abl_b.img, these are backups so I would suggest copying them to your PC if you have them, put them on an SD card, whatever you want.
It’s good to have just in case to restore from.
Then repeat the same steps to run script as root, and this time choose the flash_abl.sh file in the correct SoC folder and run.
Booting into Linux
Go ahead and turn off the device.
Then, for AYN devices, hold volume down while holding the power button until you see the AYN logo then let go of the power button, but keep volume down until you see the bootloader.
Check your device model, make sure it’s what you’re using – if it isn’t use the volume keys to change to set device model, and set your device model using the power button.
Then check to see if it says Linux under fastboot mode, if it doesn’t, use your device keys to change boot mode, and use the power button to switch.
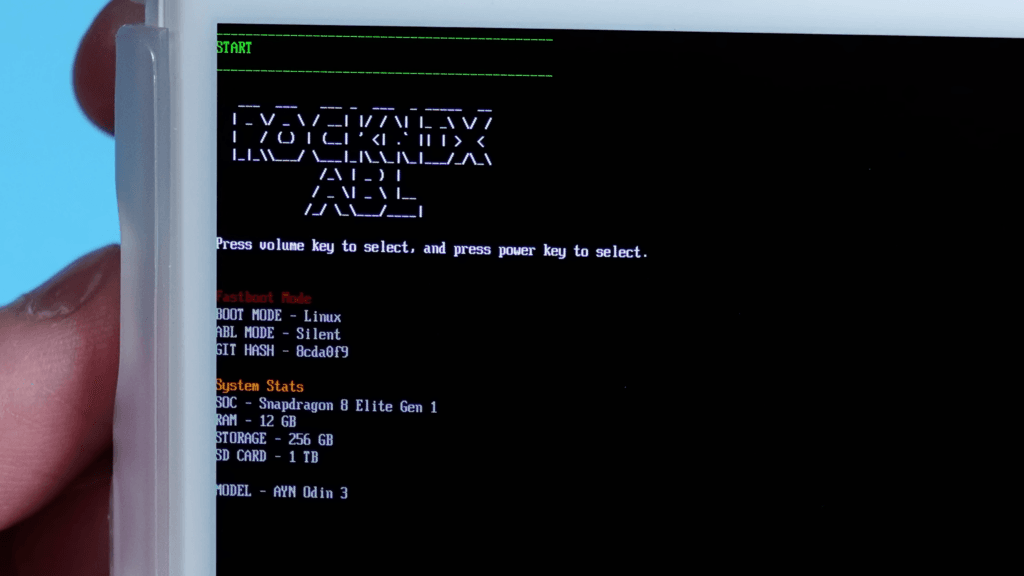
Make sure you’re in Linux mode and your device model matches then use volume keys to get to Start and power key to start.
Now just wait, be patient as it does its thing – you may see nothing on screen for a minute, but then the Steam intro should start like a Steam Deck.
Now just go through the setup screens and login with your Steam account.
Be patient any times it looks like it’s just a black screen, it’s thinking.
Navigating Armada
For AYN devices, the home button on your device opens the Steam menu on the left, and the back button opens the quick access menu on the right.
If you scroll down on the right to Decky, you’ll see Armada Control.
You can set the game resolution and the FEX preset.
I did change this to 720p for better framerates.
You can also play around with the power profile, the fan curve, and underclocks.
And lastly you can adjust your controller settings.
Updating Armada
There is over the air updates, so to update to newer builds, just open Steam on the left and then System and then under Updates > Software Updates.
That’s a huge feature so you don’t need to reflash any builds.
Otherwise, you now have full access to SteamOS – you can install and play a game, or even head to desktop mode and use everything as a desktop if you want.
Getting back to Android
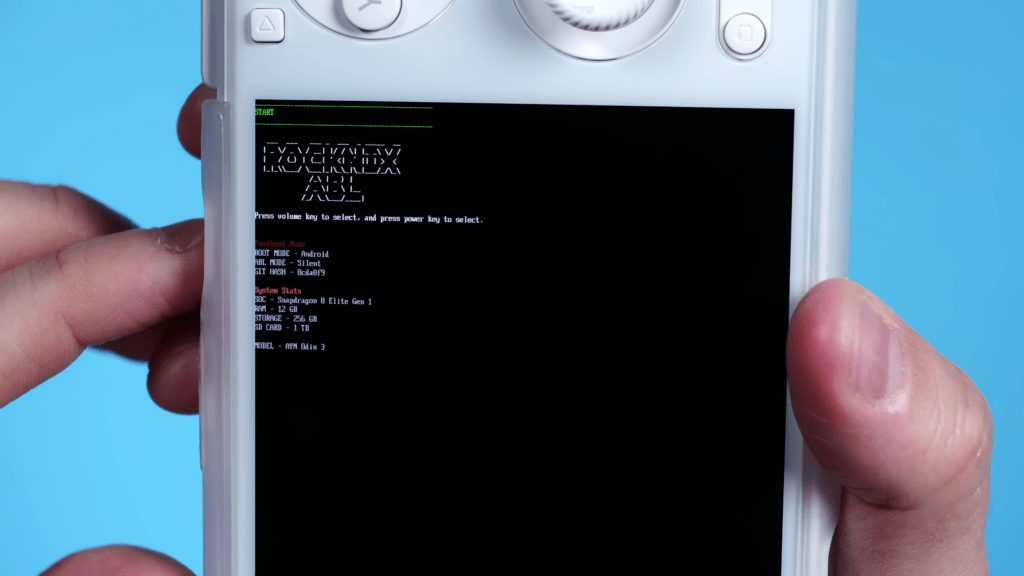
To get back to Android, you can shutdown through Steam, then head back to the ABL through volume down and power, and changing the boot mode to Android, then click Start.
1 comment
Hi, thanks for Your guide. I’m having trouble booting the latest version of Armada (20260907). When I search for my device model, it doesn’t find anything, and as a result, Armada OS won’t boot. Has anyone else had the same problem? Console: Odin 2 Portal.