
ARMSX2 Setup Guide
Table of contents
- Best devices for PS2 on Android
- What is ARMSX2?
- Backing up your existing NetherSX2 data
- ROMs & BIOS
- CHD vs. ISO
- Installing ARMSX2
- Settings
- RetroAchievements
- Settings > App
- Settings > Performance
- Settings > Renderer
- Settings > Audio
- Settings > Controls
- Settings > Hotkeys
- Settings > On-Screen
- Settings > Patches
- Memory Cards & Restoring NetherSX2 data
- Per-Game Settings
- In-Game
- HD Texture Packs
- Cheats
- Where’s all of your data?
- Syncthing
Best devices for PS2 on Android
If you’re curious what the best devices are, here’s a few of my top picks:
- Snapdragon 8 Elite Device! AYN Odin 3 – (Review)
- Best All-Rounder Device! AYN Odin 2 Portal – (Review)
- Dual Screen Device! AYN Thor – (Review)
What is ARMSX2?
ARMSX2 is a Sony PlayStation 2 emulator on Android and currently the only way for hardcore RetroAchievements users to earn those achievements on Android.
Backing up your existing NetherSX2 data
If you are coming from NetherSX2, you can easily export your data by opening the Settings menu, scrolling down to Transfer Data, and selecting Export.
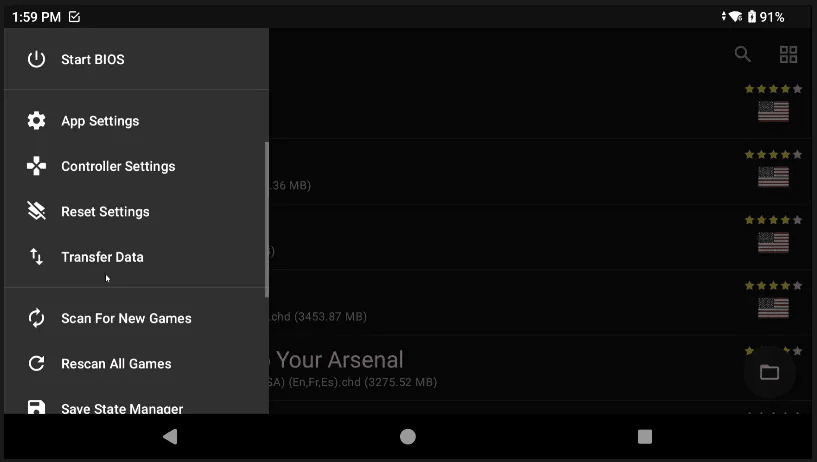
You now need to choose a folder, so just create a folder named whatever you want in your Downloads folder and then choose that folder.
It’s going to popup with a list of what it’s going to export – but as of this guide’s date, only memory cards carry over.
Keep in mind that if you use save states, those will not work when transferring, so make sure you have in-game saves before doing this.
Click Import to let it do its thing and then we’ll come back to this later when it’s time to import it.
ROMs & BIOS
Alright, now before we actually start the setup, you’re going to need PlayStation 2 games, of course.
I would suggest simply creating a ROMs folder on your internal storage or your SD card if you’re using one and then a ps2 folder inside of it, as that’s where we’re going to put our PS2 games.
ROMs should be in a CHD or ISO format – if you have them as ZIP or 7Z, they need to be extracted, they will not work.
As far as finding the games yourself, that’s not something that I can help with, but PS2 CHD redump in your favorite search engine will get you there.
Just remember to be logged in to download anything.
You are also going to need something called a BIOS file, which is a mandatory system file to emulate PS2.
The file name is ps2-0230a-20080220.bin.
I have full faith you know what to do with this information.
As for storing it, in that ROMs folder from earlier, go ahead and create a folder called BIOS, and then put this in there.
Nice and easy.
CHD vs. ISO
Just quickly, for those of you that are wondering why CHD instead of ISO – CHD is lossless, and saves you a ton of space.
You can still use ISO if you want, CHD is just better.
Let’s say you have 100GB of PS2 ISO’s, I can guarantee you at least 30GB of that would be saved by using CHD instead.
It’s a massive difference with no downside.
Now, if you have ISO’s already and want to convert to CHD, check out this part of my website.
Installing ARMSX2
Alright, at this point, let’s finally install ARMSX2.
Head to the ARMSX2 Github, and download the latest release.
Just grab whatever the latest is – you can see the Latest tag next to the title if you’re unsure.
Once you’ve installed it, go ahead and open it. Click Confirm bottom right.
The first thing we need to do is tell ARMSX2 where to store all of our data, and we do not want the default option of the private Android/data folder as you’ll never be able to touch those files on a lot of devices.
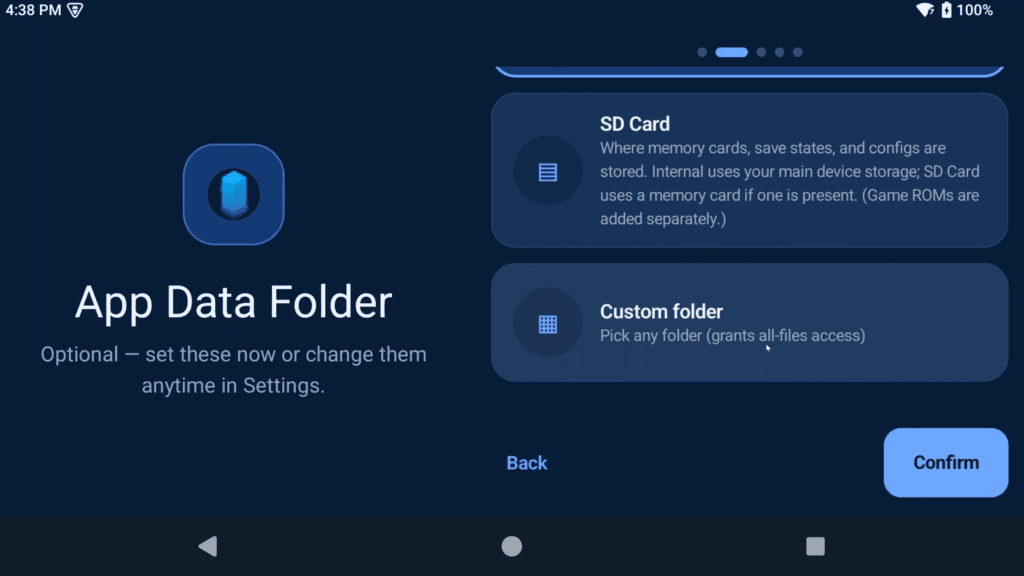
Click Custom folder and then allow permission access.
Now, navigate to where you want to store the data – if you have an SD card, I’d suggest there otherwise internal storage is fine.
Create a folder right on the root of either just called ARMSX2 then select use this folder and allow.
That’s where all of your data will be. Click Confirm bottom right.
Remember that BIOS file from earlier? We have to select it.
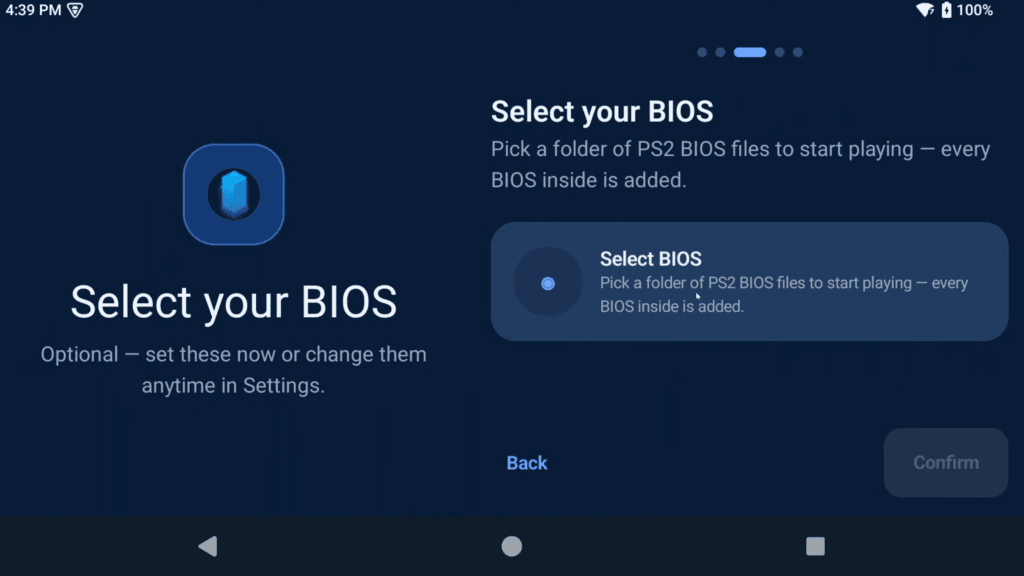
Choose Select BIOS and navigate to the ROMs, BIOS folder I had you create earlier and select use this folder and allow.
If you did it right, your BIOS will show in the list, and should say BIOS selected.
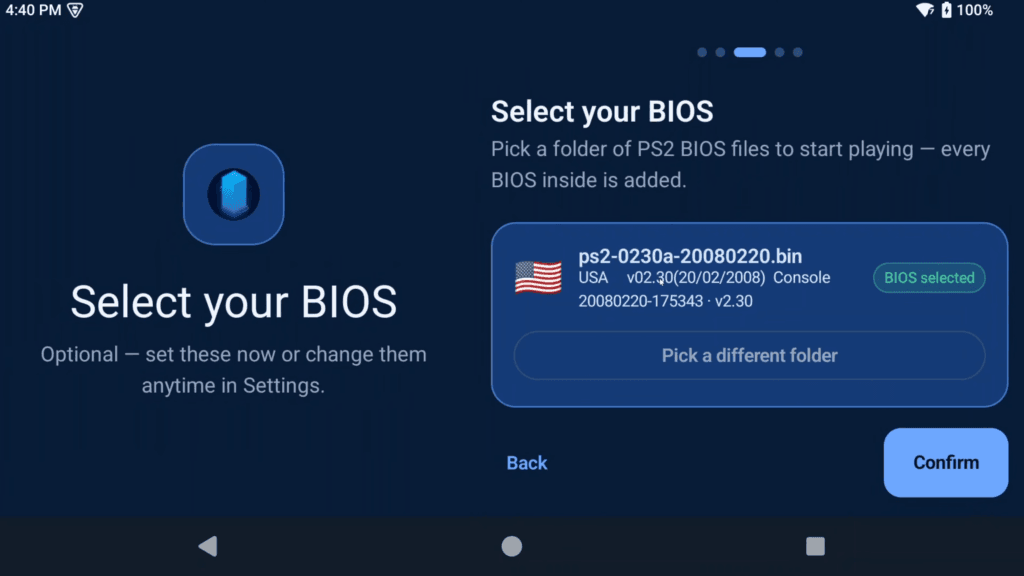
Click Confirm bottom right.
Now we have to tell ARMSX2 where our PS2 games are located.
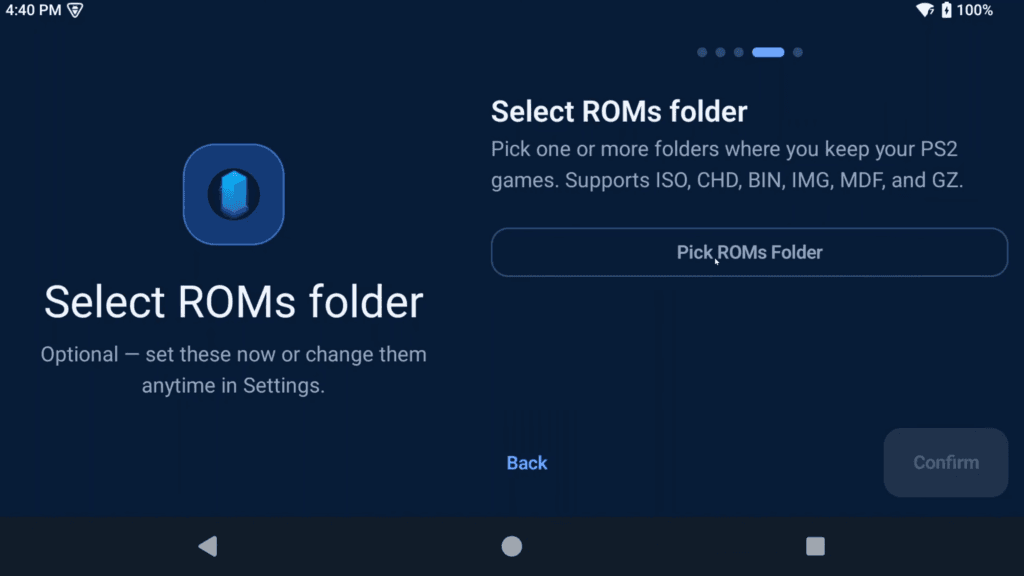
Click Pick ROMs Folder and navigate to your ROMs > ps2 folder and select use this folder and allow. Click Confirm bottom right.
Look over what we’ve done and click Let’s Go bottom right.
Settings
Now we’re on the home page of ARMSX2 and you should see all of your games populated.
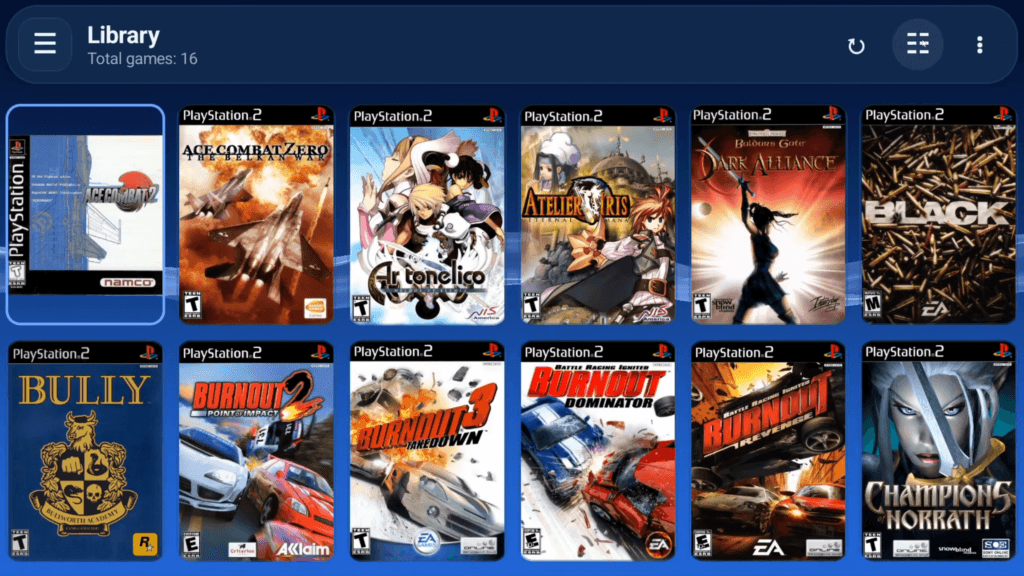
Use the top right to change from grid to list and vice versa.
You can also choose how to sort and some other preference related settings top right.
If you ever add new games, use the refresh button so ARMSX2 can see them.
RetroAchievements
Click the top left menu and now let’s jump into RetroAchievements if you use them and you can sign in here with your login information.
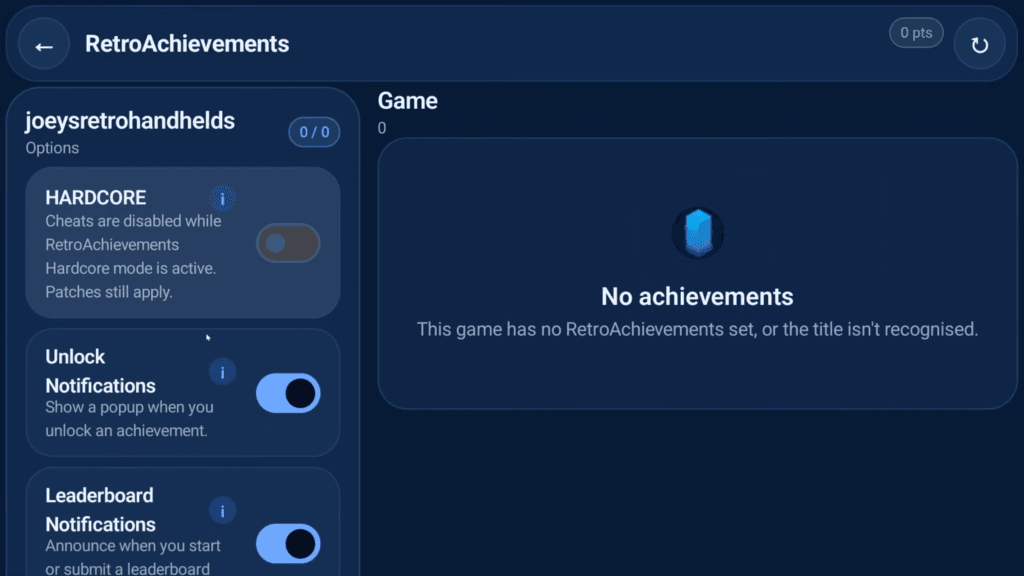
I’d suggest leaving all the settings as default after unless you plan on using hardcore mode.
Settings > App
Next, let’s jump into Settings.
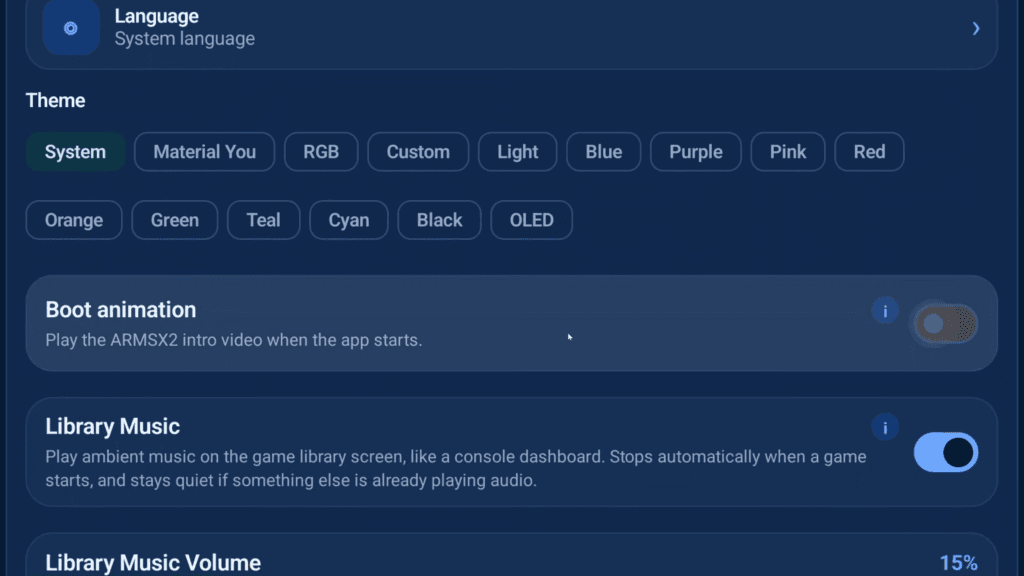
In the App tab, I personally turn off the Boot animation, just to make things quicker.
Settings > Performance
I don’t touch any performance settings, however this is where you’d make changes you’d find online for specific games that need them or aren’t running well.
Settings > Renderer
In Renderer, we can leave Graphics API as Auto, but sometimes higher end devices will want to choose Vulkan, and then if your device supports it, you can choose Download to see custom drivers.
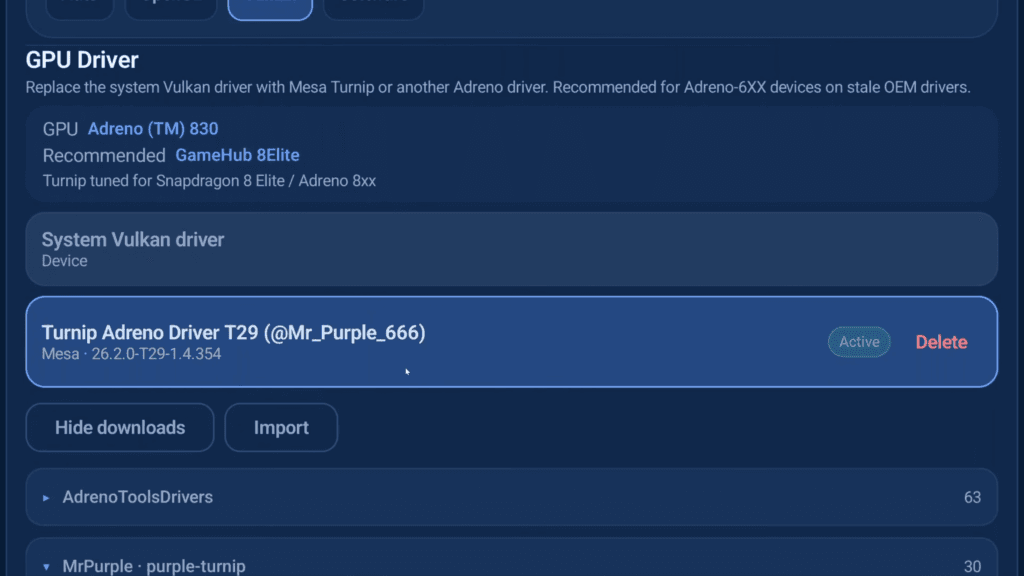
You can select whatever custom driver to use.
Scrolling down and the only other change I make here usually is the Upscale.
Because not every PS2 game has the same internal resolution, 3x will cover most of the catalog at 1080p if that’s what you’re aiming for, but you need a powerful device for that.
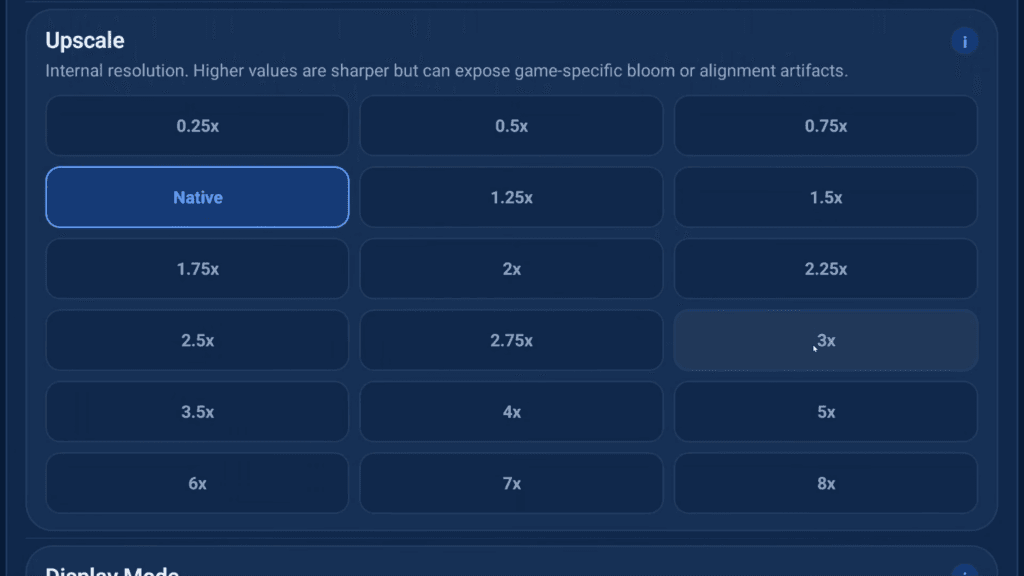
If you have one, you can set it here, or you can do per-game settings later to maybe only upscale some games, it’s up to you.
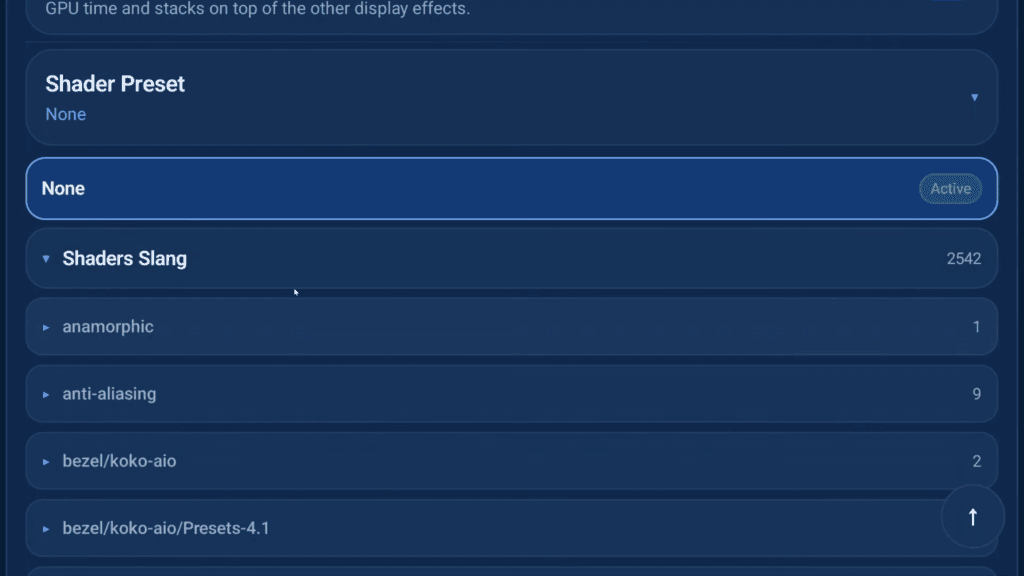
Scroll down and if you want to use RetroArch Shaders, you can.
Just click the Download button, then Get on the right.
Then enable RetroArch Shaders and use Shader Preset to choose whichever shader you want to use.
Scroll down and go ahead and enable Load Texture Packs, even if you don’t want to use them, doesn’t hurt.
If your device has at least 8GB of RAM, I’d suggest enabling Precache Texture Packs as well.
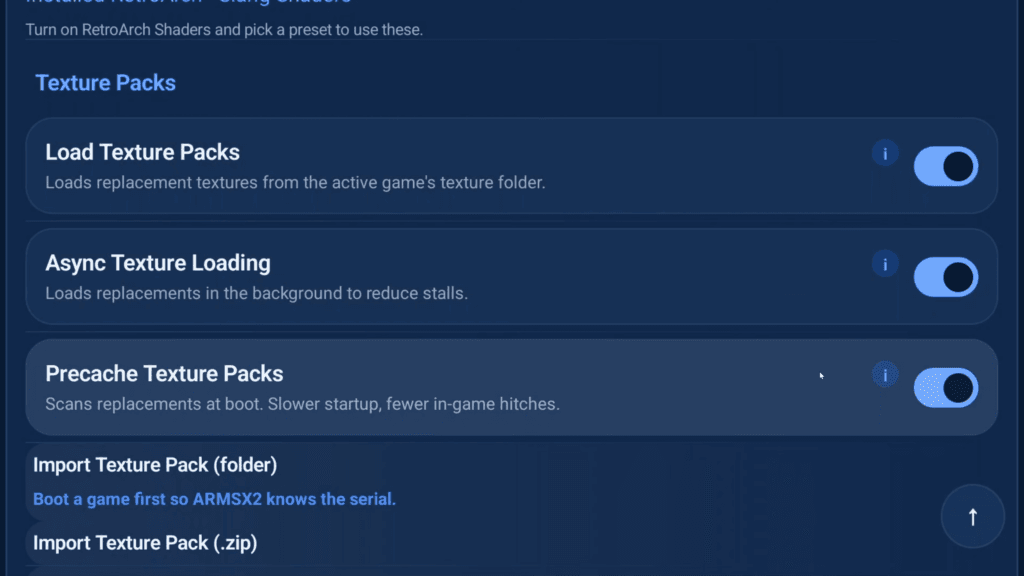
We’ll revisit texture packs later.
Settings > Audio
Head to Audio, and one setting I like to avoid messed up audio is turning off Fast-Forward Volume.
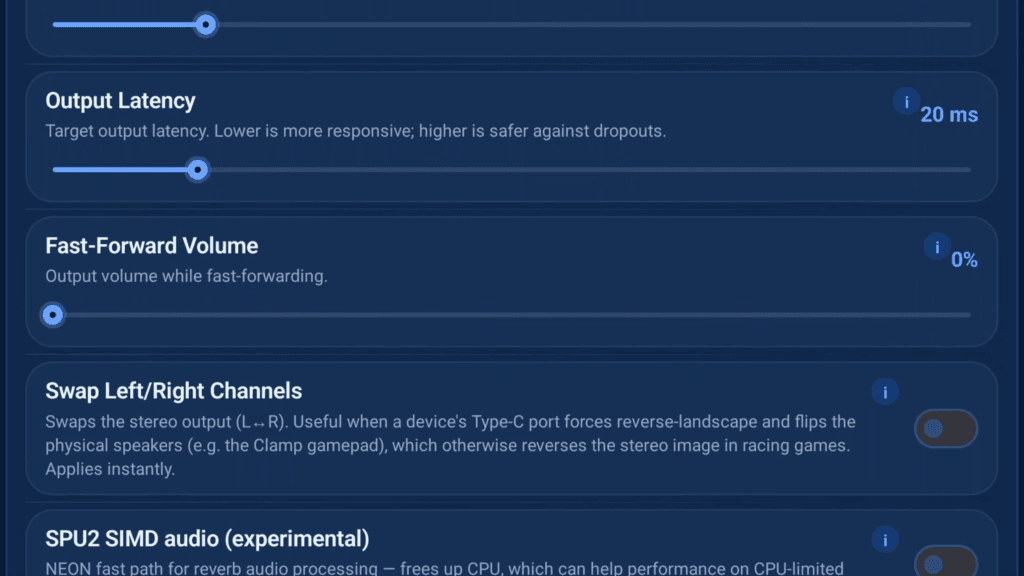
Basically make it silent when fast forwarding as opposed to hearing the sped up sounds.
Settings > Controls
Next head to Controls and scroll down.
Depending on your controller or device, it may have automatically mapped your controls, but if not, just click each mapping and push the corresponding button on your device to map it.
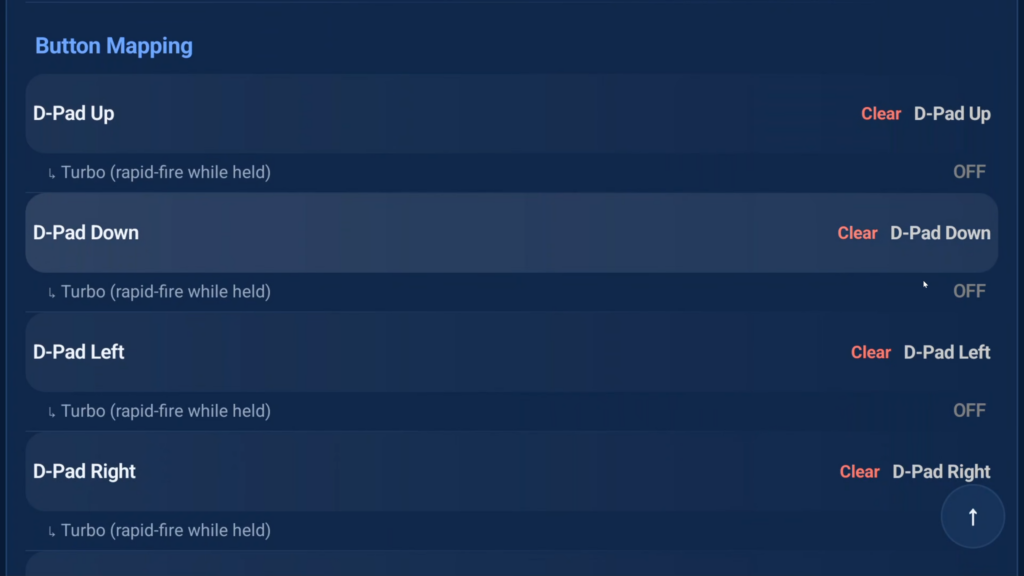
I usually stop at Start.
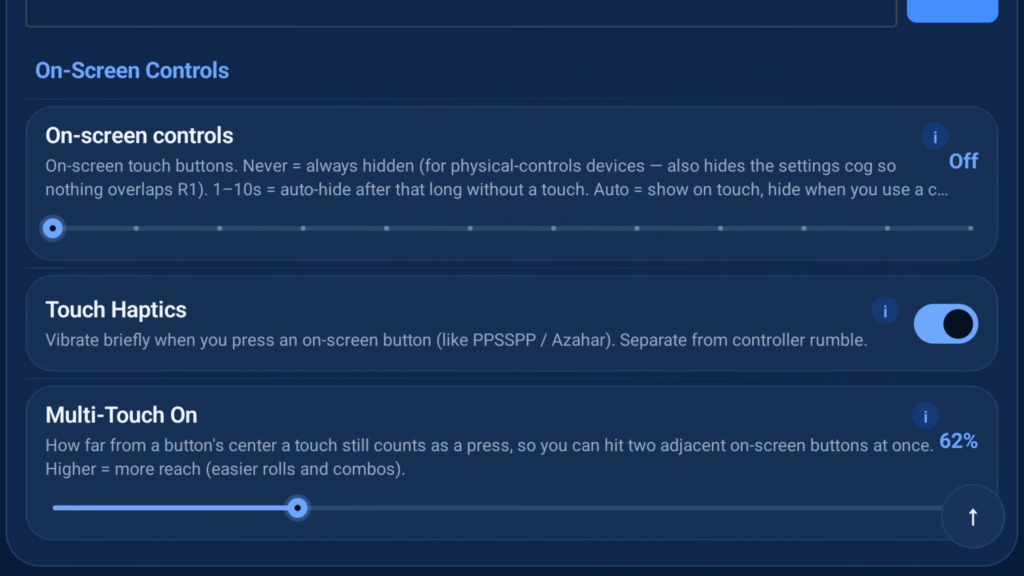
Scroll down and set On-screen controls to Off.
Settings > Hotkeys
Head to Hotkeys and there’s a few I like to use.
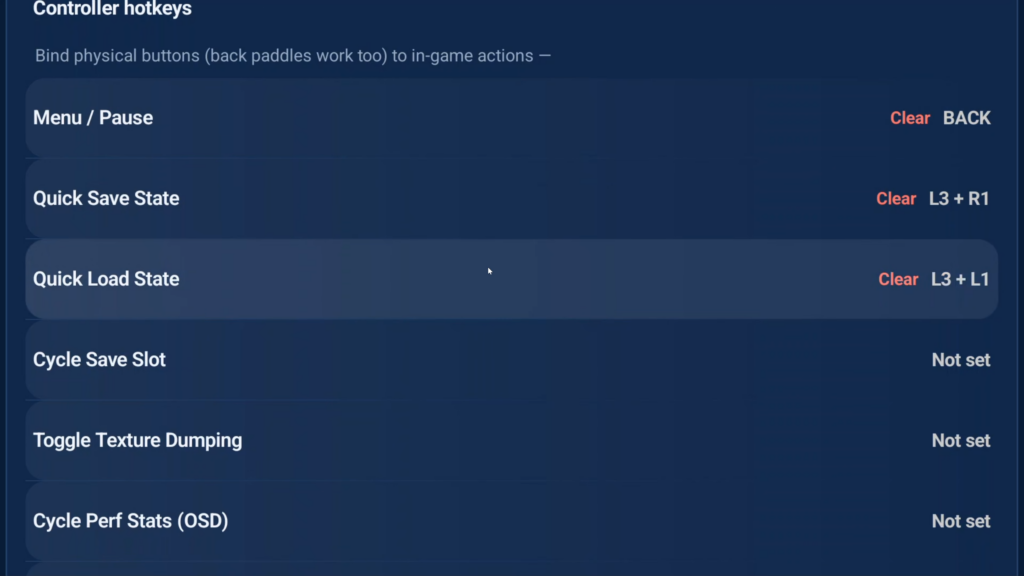
- Menu/Pause as my device’s back button or L3+X if I don’t have that
- Quick Save State as L3+R
- Quick Load State as L3+L1
- Fast Forward (toggle) as L3+R2
- Close Game or Close Game & Quit depending on what you want to do as L3+Y.
Settings > On-Screen
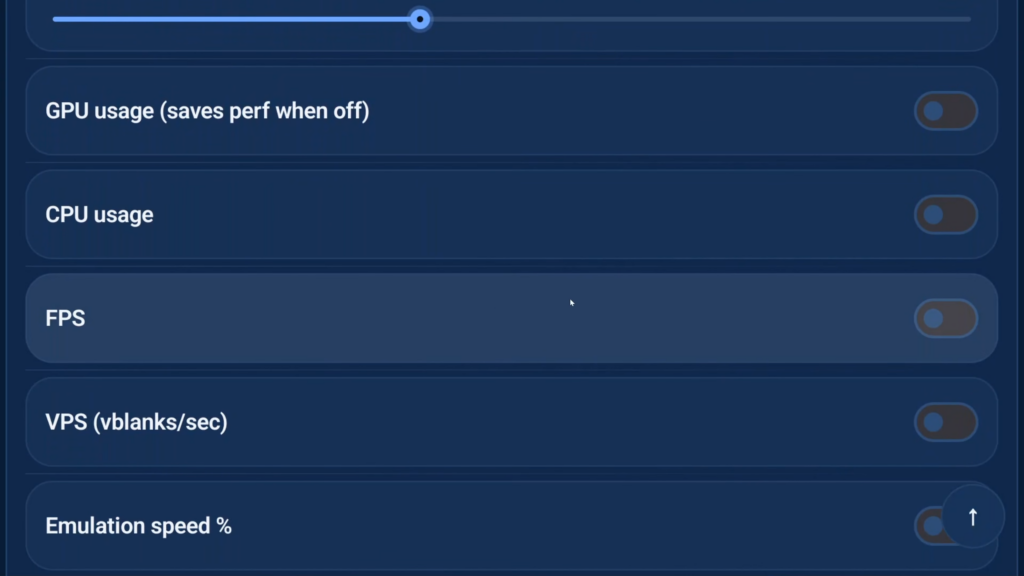
Scroll the tabs to On-Screen and if you want to see performance information, you can enable FPS and so on here, but there is a toggle in-game that’s easier to use.
Settings > Patches
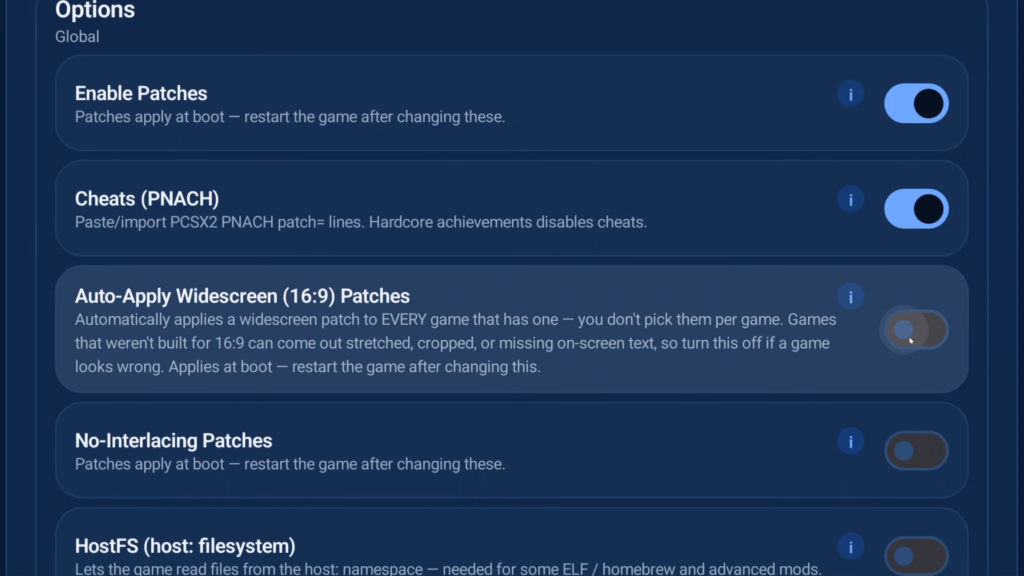
Scroll the tabs to Patches.
If you want to use Cheats, enable Cheats.
If you want to use widescreen patches, you can enable that too – or you can do this on a per-game basis later, up to you.
We’ll come back to Cheats.
Memory Cards & Restoring NetherSX2 data
That’s it for settings, let’s jump into Memory Cards next.
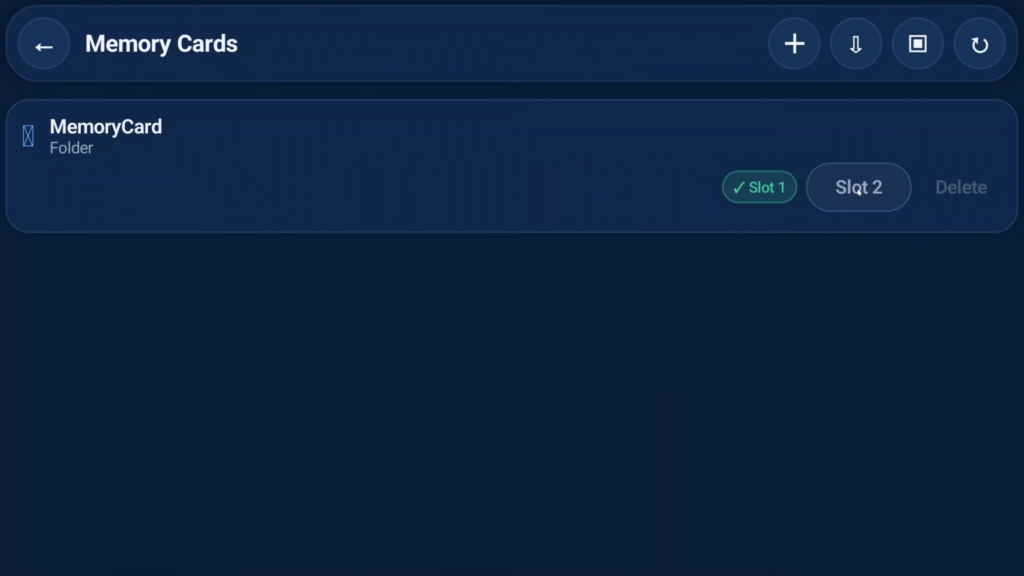
If you exported data earlier from NetherSX2, use either the import down arrow or import square icons top right to import your memory card from wherever you exported your NetherSX2 data to, and inside the memcards folder.
For everyone else doing this all new, go ahead and click Create.
Just leave it all as default name, then choose Folder and choose Create.
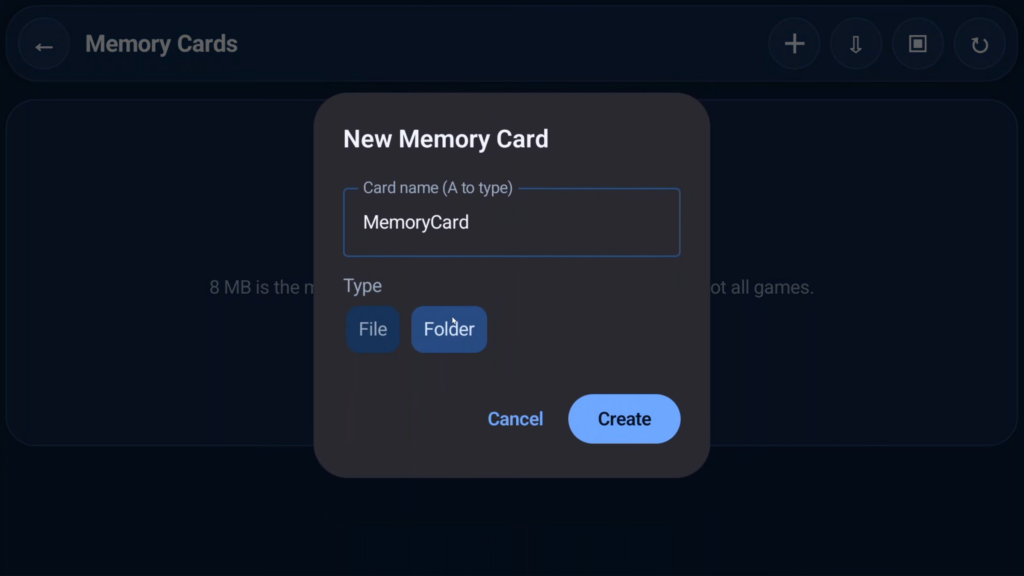
A folder based memory card is the best as it’s unlimited sizing for unlimited saves.
If you choose a normal memory card, your saves will fill up quickly and you’ll have to keep creating them.
Make sure you set this Memory Card as Slot 1 (you can also choose Slot 2 as well if you want).
Per-Game Settings
Back on the main home screen, push and hold on a game to get a new menu and if you click settings, this is per-game settings.

Any settings you change here only applies to this game – great if you need to apply certain fixes and so on.
In-Game
Otherwise go ahead and launch any game by tapping it on the home screen.
Your BIOS should popup, so confirm your language, your time zone, your daylight savings time, and that’s it.
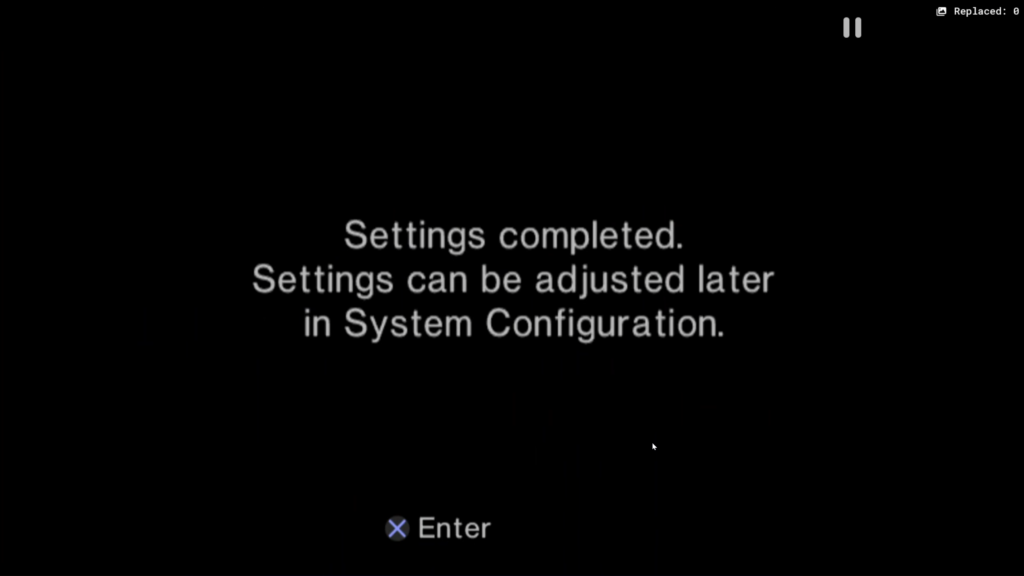
You only have to do this once.
Go ahead and push your Menu hotkey to get the in-game menu.
You can do a whole bunch of things here, like swap discs or you can use close to exit, but scroll down a bit and turn on Tap to reveal pause to remove the on-screen Pause icon top right.
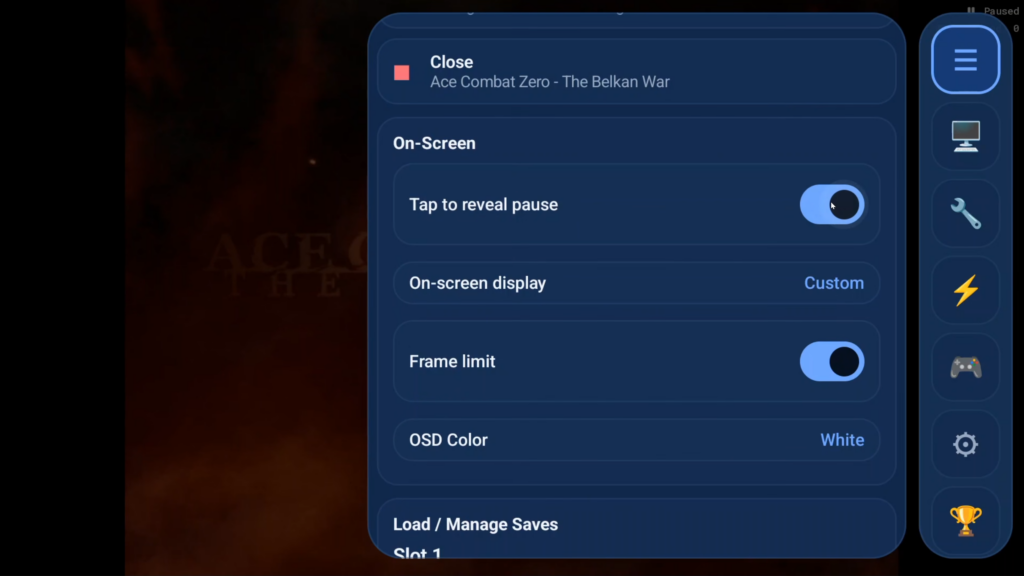
Scrolling down will show you your save state slots if you use them.
Otherwise, the other icons on the right are all changes you can make and the last icon is RetroAchievements to see your progress.
Exit the game.
HD Texture Packs
Let’s do HD texture packs now.
Gbatemp is the repository for them, you can see them all in different posts.
Ratchet & Clank has one, so let’s use it.
These will be the same steps for any HD texture pack.
Find and click the Download link in the post, sometimes it’s in a YouTube video from the creator and download the pack.
If this was a zip, you could import it directly in ARMSX2, but it’s a 7z file so let’s extract it first.
Use any file manager, they all can do this and extract the 7z folder.
Wait for the extraction to finish. This will take a very long time on Android and this is the one part of the guide where if you have a PC, it’d be easier and quicker to extract on PC.
Head back into ARMSX2 > Settings and the Renderer tab.
Scroll to the Texture Pack section and now choose Import Texture Pack (folder) then select that exported folder which is the Game ID and choose use this folder.
To check that texture packs are working, enable Texture Pack OSD.
This will show Replaced in-game top right the entire time, so only use this for checking that your texture pack worked, then you can come back and turn it off.
Once done, go ahead and open the game and you should see the Replaced notification top right and a number and you’re set.
Cheats
Let’s tackle cheats next.
It’s easiest to do this from the game, so open a game, and then the in-game menu > Settings icon on the right and then Patches & Cheats.
Click Find patches & cheats for this game and you should see a whole bunch.
Just select what you want and then Install selected.
Restart the game to use it.
If, you found none, you can import your own.
GameHacking is a great site for cheats, and on whatever game page, make sure you select the pnach format and you also change it to Checked, not All when Downloading.
If you leave it as all when you import it into ARMSX2, all cheats will be enabled, that’s annoying.
You also need to make sure you are grabbing the right cheats for the right version of the game – match the serial numbers – in ARMSX2 if you’re in the game, you’ll see it in the Menu top left.
Then click the Plus icon top right on the Patches page > navigate to the pnach file and select it to import it.
Enable or disable the cheats as you’d like.
Where’s all of your data?
Last for today is where is all of your data, and it’s where you set it to when we did the setup at the beginning of the guide, which if you followed my instructions, would be a folder called ARMSX2 on the root of your internal storage or SD card.
Syncthing
ARMSX2 can easily be sync’d across all operating systems using Syncthing.