What is M64Plus FZ?
M64Plus FZ is a standalone emulator on Android for Nintendo 64 games.
Currently, it’s the best for compatibility across Android for all games and fixes games that will not work properly through RetroArch.
Software & ROMs
You will not need a PC for any of today’s guide – you can use your Android device for everything.
I will personally be using an app called Solid File Explorer off the Google Play Store for everything I do for moving files and such, in case you wanted to copy me exactly.
Alright so right off the bat, you are going to need to have some Nintendo 64 games, obviously, as this is an N64 emulator and you can’t do much if you don’t have games.
If you don’t have games, the ROMs Github is a great resource – but honestly, you can’t type n64 roms into Google without getting a million options to use and if you’re worried about safe sites, just add reddit to your search and see what people use and recommend.
If you come across BigEndian vs. ByteSwapped, use BigEndian, but it doesn’t really matter.
You can keep your ROMs zipped for this emulator, so no need to extract.
As for storing the games, I simply create a ROMs folder on my device or SD card, and then a folder called n64, and inside of that is where I put all my n64 games.
Nice and easy.
Installing M64Plus FZ
Let’s go ahead and actually install M64Plus FZ now.
Head to the Google Play Store and type in M64Plus FZ.
You are going to see two versions – a Pro version and a free version.
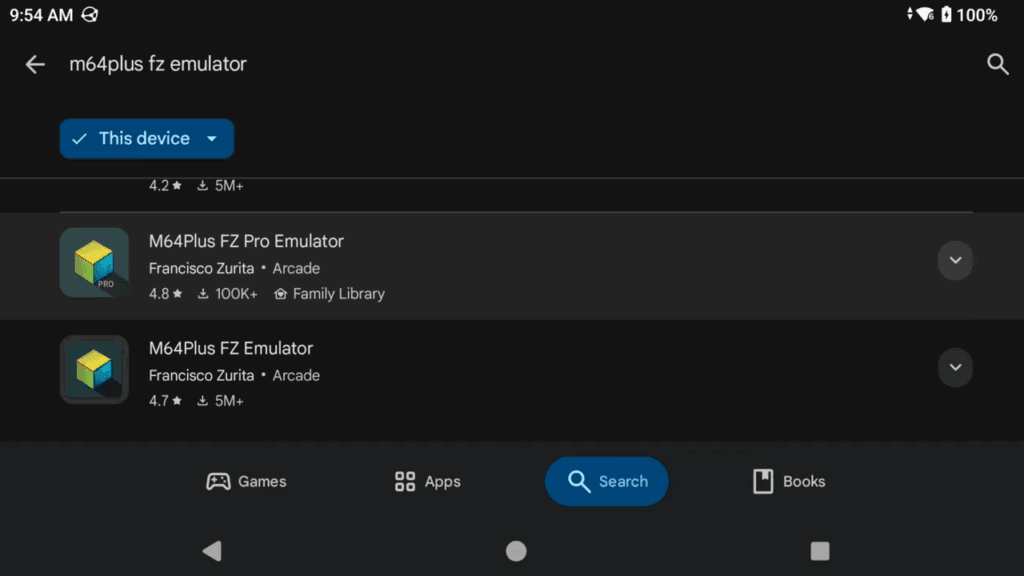
I would highly highly suggest that you buy the Pro version and use that because the free version does have ads and other limitations.
I will use the free version for today as I know most of you will ignore this, but I personally use the Pro version.
Go ahead and install it and then click Play.
Allow notifications.
Adding games
You are now at the home screen and this is where your games would show if we added them, so let’s do that.
Click the Plus icon bottom right, then you want to choose select folder, find your ROMs folder, n64 folder and select it.

It’ll take some time to import your games if you have a few.
You can now see all your games and our first of many ads.
Settings
Let’s change some Settings, click the three lines top left.
Display
Head to Settings then Display.
If you know that your device can handle upscaling, you can change the rendered resolution here to a higher option.

I’ll also show you how to change this on a per-game basis if you’re finding some games can’t handle it, but others can.
If you scroll down, you can turn on Framerate if you’d like and to see how your games are performing, I’ll be setting it to Top Left for now.

Data
Back out and head into Data.
By default, the Game data storage location is internal – this means, it’s really out of access for a lot of devices because it’s behind Android’s data storage.
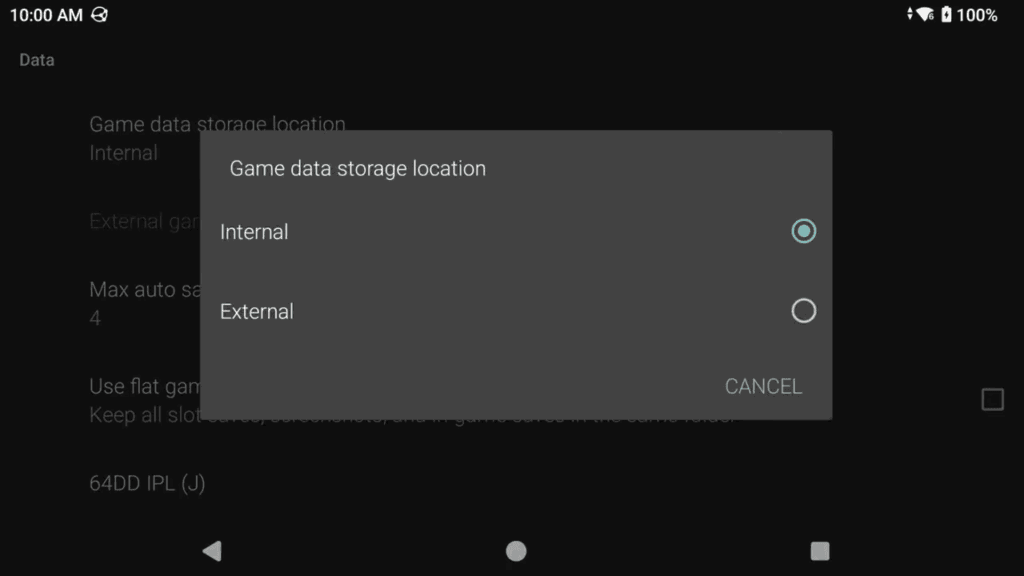
We don’t want that, on any device.
Choose External.
Next, choose External game data location, and I usually put this on my SD card, but you can just create a folder on your internal storage instead and call it M64Plus FZ, then use that folder.
Now, all our data will be stored in that location – so you have easy access to your save files and more.

It’s important to do this now at the start before playing games because if you change this after, it doesn’t move your existing data over and it’s a pain to move it yourself.
Profiles, Controller
Scroll down and under Profiles, head to Controller.
Click New at the top right.
Give the controller profile a name, so just calling mine Odin 2 Portal since that’s what I’m using.
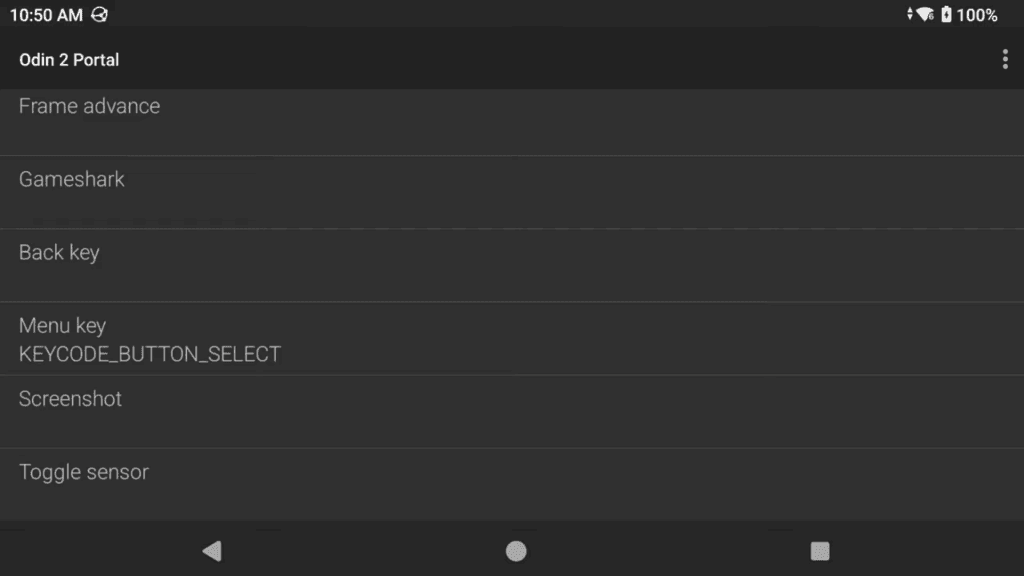
Now just go ahead and map your N64 controls to your device or controller.

I use R2 for Z, and S is Start for those that don’t know.
For the Cpad’s, I use the right stick to map those.
Lastly, there’s the Menu key and if you have an extra button on your controller and your controller doesn’t have a back key already, which usually works for menu, I would map this and you’ll see why later.
You could also use Select, since we don’t use Select for anything.
Now, obviously the right stick for Cpad may not be the best for all games, you may want to use let’s say X and Y on your controller for some cpad buttons, which is what I do for Super Smash Brothers, and that works out better for some other games too.
So what you can do, is create as many controller profiles as you want, and then we can choose which games will use them on a per-game basis later.
That’s the best way to handle it, but for now, as a general profile, this is the best.
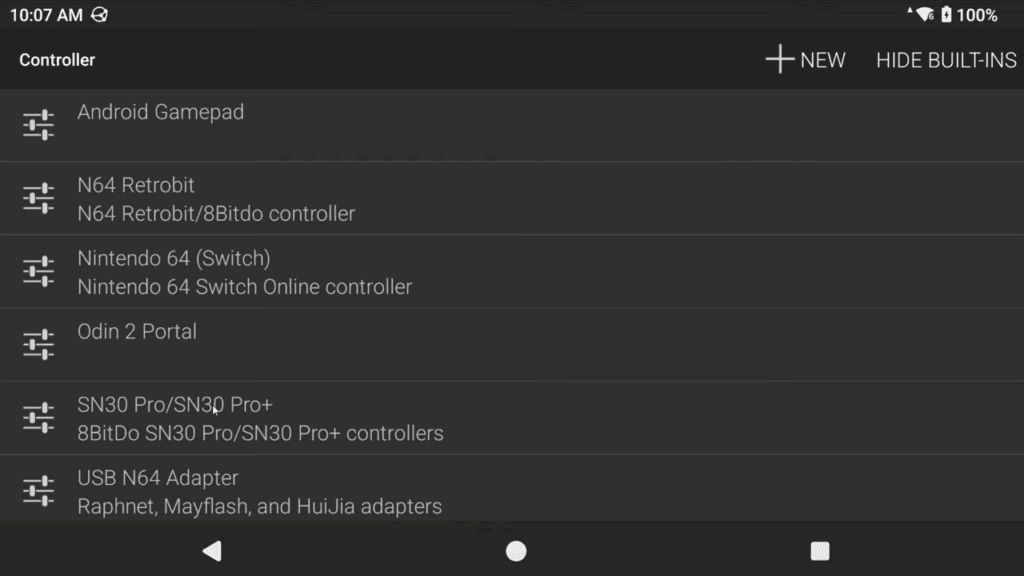
Head back and now go to Select Profiles.
Under Controller 1 profile, choose that new profile we just made.
If you ever want to do multiplayer, you can create and use the other controls for other controller profiles.

Texture Packs
Back out and let’s go under Tools.
You may want to use HD texture packs at some point, and it’s pretty easy to do so – this part is optional, feel free to skip to the next section if you don’t care about texture packs.
There’s a site called Evilgames that has a few of them, but there’s other sites as well.
I’m going to choose Ocarina of Time Reloaded from that site.
You have a choice between 4K and HD – I’m going to choose 4K, but most times, HD will be better, especially if you have a lower powered device.
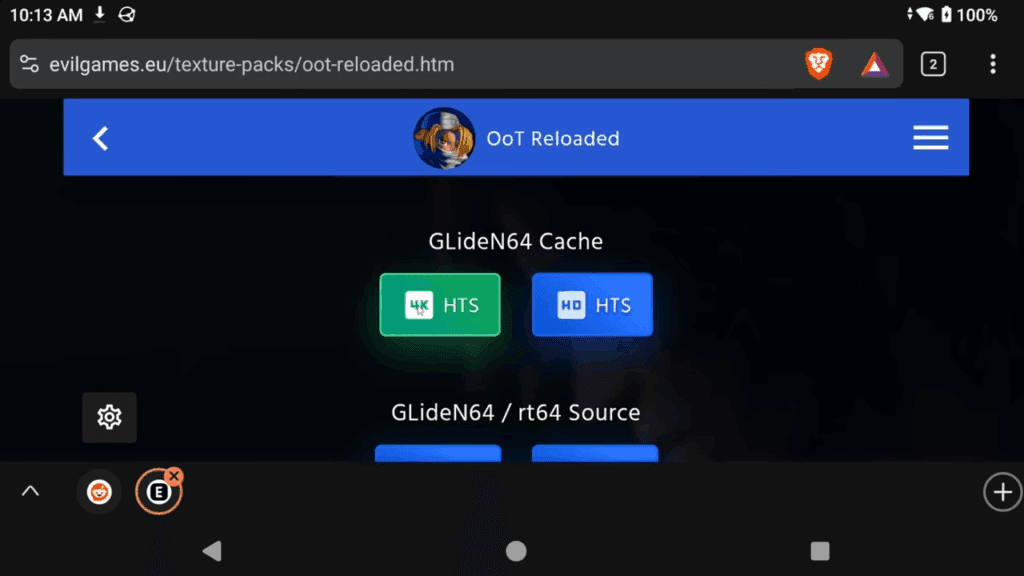
It’ll likely take some time to download.
It will download as a 7z file, which is zipped and you need to unzip it.
I’m using Solid File Explorer like I said earlier and I can do so right in the app by pushing and holding, three dots and selecting Extract.
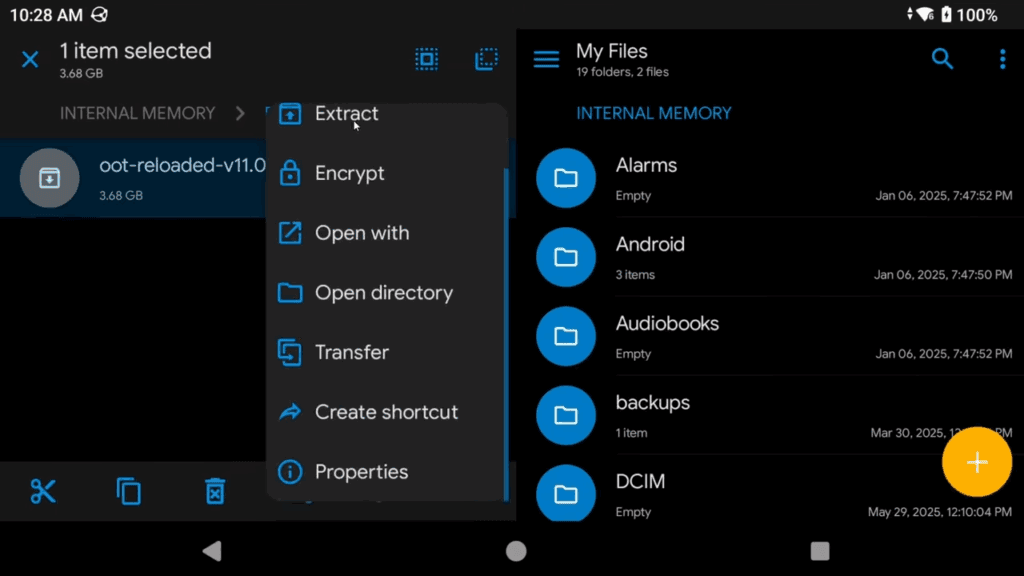
If you want a free app that can do this, I believe Zarchiver can off the Play Store.
This will take some time as well and will extract to a file with hts at the end.
Once that’s done, head back to M64 Plus FZ > Add Texture Pack > Choose Select file and choose that hts file.
Then click OK and let it unpack.
More waiting for us, hooray.
When it’s finally done, go and select Ocarina of Time, and scroll down to Settings.
Change Rendered resolution to 800×600, then scroll down and we need to change the Emulation Profile to GlideN64-Medium.
Back and click Start to start the game and enjoy your HD texture pack!
If you ever want to delete the texture packs, right under Add is Clear texture packs and you can individually delete whatever you want.
Game Menu
Okay, now we have our library and everything setup.
If you tap on a game, you get a menu that shows up on the left side with things you can do.
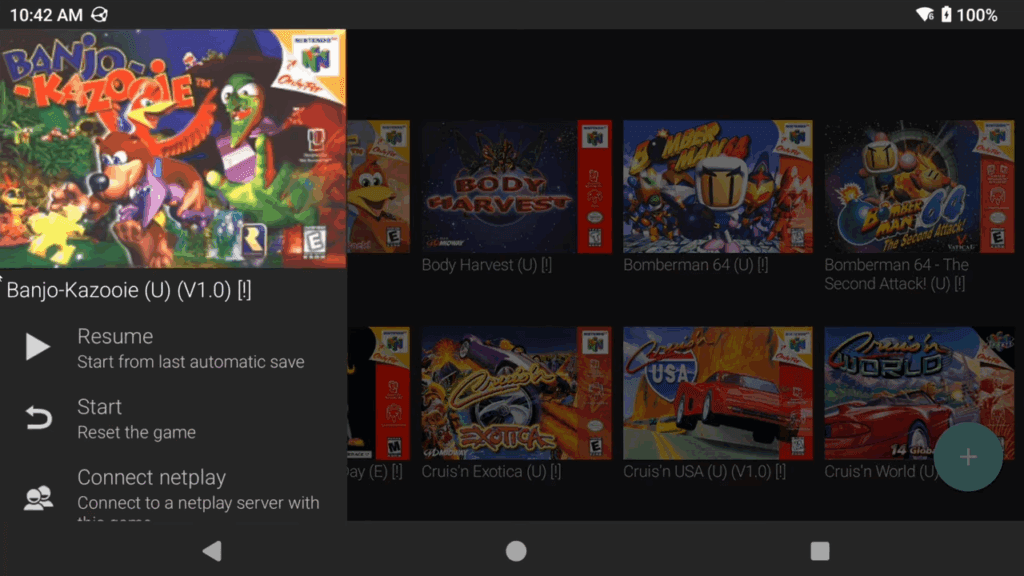
Resume from the last save, Start fresh, play online using netplay which I did an entire video on below, then we have Settings.
Per-Game Settings
If you choose Settings, any settings changed here will only apply to this specific game.
So maybe you want to change the rendered resolution for this game, or if you head to Controller, you can change the Controller profile being used because maybe this game will do better with another profile than the default profile we created.
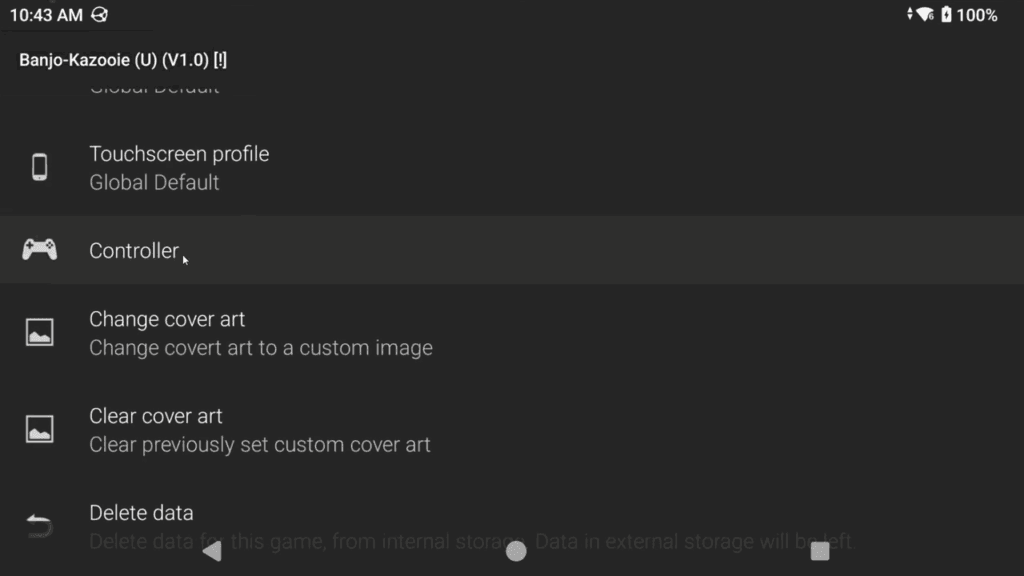
Emulation Profile
A big one is Emulation profile – by default, we are using Glide64-Accurate.
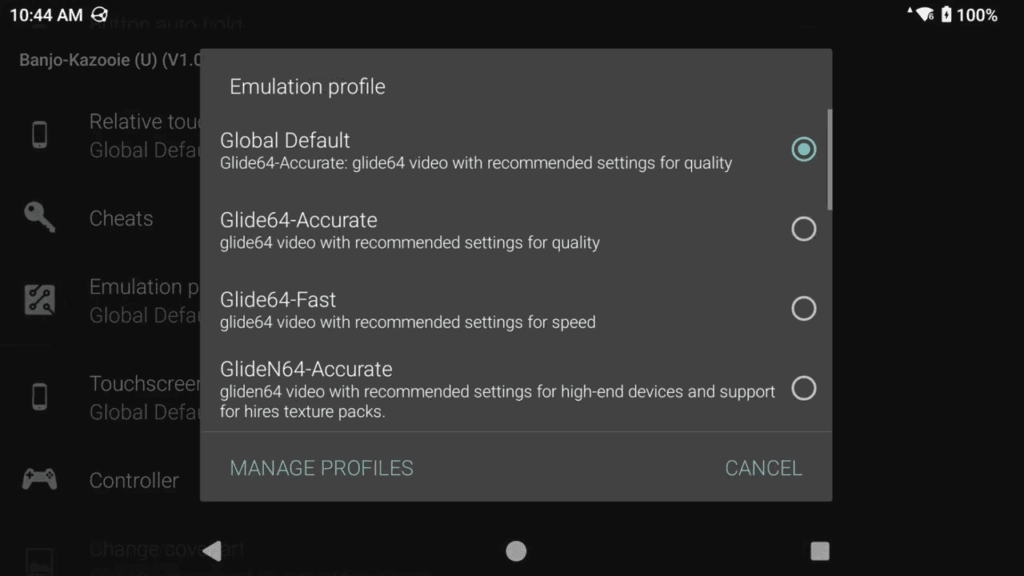
However, you may run into some games that will not run well, or look off, or that sort of thing.
This is where you can try other profiles to fix the problem.
For example, here’s Mario Tennis with the default profile.
There’s a texture glitch top left that those of you that used to use RetroArch are familiar with, and there’s even more issues as you play further.

We need to fix this because one of the main benefits of using M64Plus FZ over RetroArch cores is the compatibility of this emulator that can fix things like this.
If I choose GlideN64-Medium as the emulation profile and load the game up again, no texture issues and all works perfectly.
So that’s how you’d fix some games.
Cheats
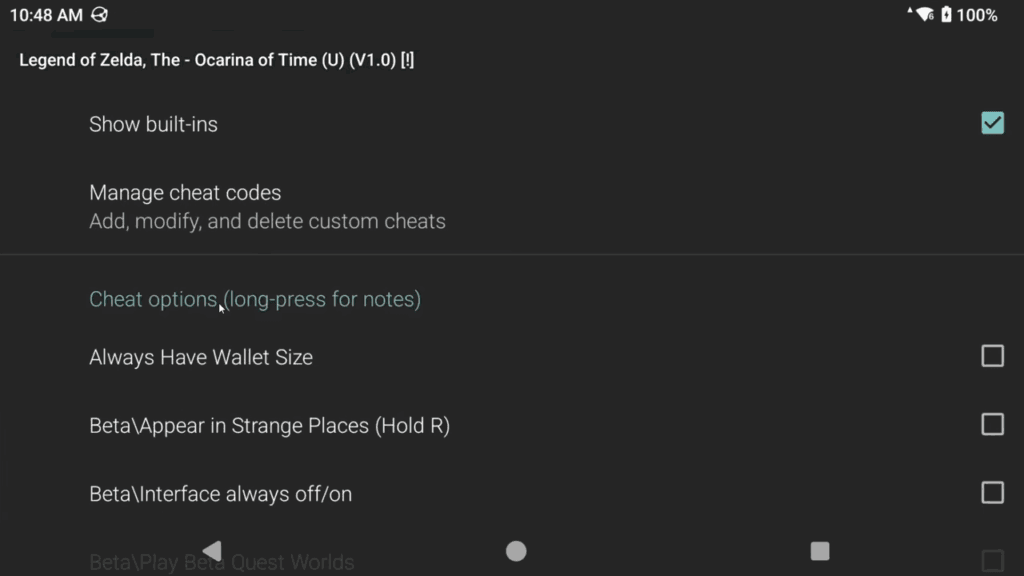
Lastly, we have Cheats and should be pretty easy to understand, you can enable or disable cheats here and they are all pretty much built in to the emulator for each game.
Booting a Game
Go ahead and click Start on a game to load it now and since we’re using the free version, we have to wait, and we have to see an ad – you wouldn’t have this on the Pro version. Click continue.
And boom, we are now in the game and we can start playing.
In-Game Menu
One last thing – remember that Back hotkey I made you map to Select? Push and hold that now.
You should see the in-game menu slide out.
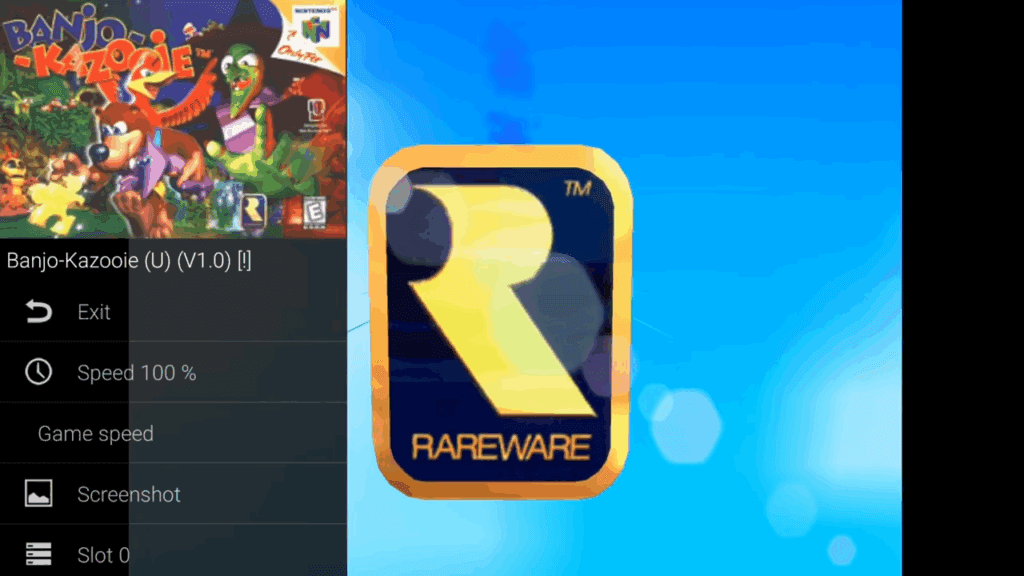
If your handheld has a back button, that will also work.
You can now do things in this menu like, change save state slots, save and load state, change controller paks if you need to, reset or just exit the game.
Remove on-screen controls permanently
If you don’t like the default option of the on-screen controls disappearing after 5 seconds, let me show you how to remove them permanently.
Head to Settings top left > Profiles > Touchscreen.
Click New top right and give it a name – I just call it Nothing.
On the next screen, just tap on the screen and choose Exit.
Head back and under Profiles, choose Select Profiles.
Set Touchscreen profile and Touchscreen (D-pad) profile to that new profile that we just created – so mine was named Nothing, so I select that.
Enjoy!
Transfer Pak
You may want to use the Transfer Pak in some games like Pokemon Stadium to load the Game Boy games to transfer your Pokemon over for example.
Here’s the steps to do so.
Make sure that for whatever Game Boy or Game Boy Color Pokemon game that you want to use, that you’ve saved INSIDE the Pokemon Center before starting this.
Also make sure that your Game Boy or Game Boy Color Pokemon ROM is UNZIPPED. It cannot be zipped.
In M64Plus FZ, select Pokemon Stadium and you will get the game menu.
Head to Settings > Emulation Profile > change it to GlideN64-Medium or GlideN64-VeryAccurate if your device can handle it.
Then scroll down to Controller > Player 1 (under Controller Paks) and set it to Transfer Pak.
Then, head to Player 1 Gameboy ROM (under Transfer Paks) and navigate to your Pokemon GameBoy ROM that you want to use.
Reminder that for Pokemon Stadium, only Red, Blue and Yellow are supported.
For Pokemon Stadium 2, you can use the above and Gold, Silver and Crystal.
Then, right below, choose Player 1 Gameboy RAM and navigate to your Pokemon save file – typically an .srm file.
For RetroArch users, it will be in your internal storage > RetroArch > saves > Gambatte folder.
Start Pokemon Stadium and enjoy!
Syncthing
M64Plus FZ can easily be sync’d across other Android devices using Syncthing.


Hi Joey, thanks a ton for this guide! Quick question for the HD texture packs: after I have imported a certain HD pack into the emulator, how is M64 Plus suppose to know for which game/rom that HD pack is intended? How does it map the imported texture pack to the correct game? Is this something I need to assign as a user? I have not figured that part out, even after watching your video. Many thanks!
Great question. I believe inside the hts is an identifier of some sort.
It’s not something you need to do no.
I am not sure about an identifier inside the “hts”, I suspect the existing textures are replaced by the HD ones internally only IF you select the “GlideN64” Profile with texture-pack support. Maybe only then the Emulator looks for any replacement textures that exist regardless of a specific game selection and replaces everything that was imported during game launch.
I can only speculate as there is no documentation for that on the Emulator page.
Thanks for your feedback and the tutorial!
Please help I deleted M64Plus FZ then purchased it on the play store but when I click install I get { Can’t install m64plus fz pro emulator} Im using the Anbernic RG556
This is pretty brutal because I’m now locked out of N64 on my device and I’m afraid to continue with your guide. I should have just used the emulators that were pre loaded.