Best devices for GC/Wii Emulation
If you’re curious what the best devices are for GC/Wii emulation, here’s a few of my top picks:
- Android: Retroid Pocket 5 – (Review) – (GC Showcase)
- Android: Retroid Pocket Mini V2 – (Review)
- Android: Retroid Pocket Flip 2 – (Review)
- Android: AYN Odin 2 Portal – (Review)
Why Dolphin?
Dolphin standalone is the only option in the world to play your GameCube and Wii games via emulation.
There’s just no alternative and you don’t need an alternative, it’s awesome.
ROMs
Before we start, you’re going to need GameCube or Wii games, of course.
For finding the games, the ROMs Github (Google) is usually a great resource.
RVZ vs. ISO
The best format is RVZ – they’re much smaller file sizes, saving you a ton of room and no downsides.
Otherwise, ISO is fine as well if you can’t find RVZ.
ISO is also useful for patching any romhacks or mods to ROMs, if you want to do that in the future.
For storing the games, I would simply create a ROMs folder either on your internal storage or SD card, and then a gc folder for GameCube and a wii folder for Wii games.
Installing Dolphin
Let’s go ahead and install Dolphin and the best and easiest way is through the Google Play Store.
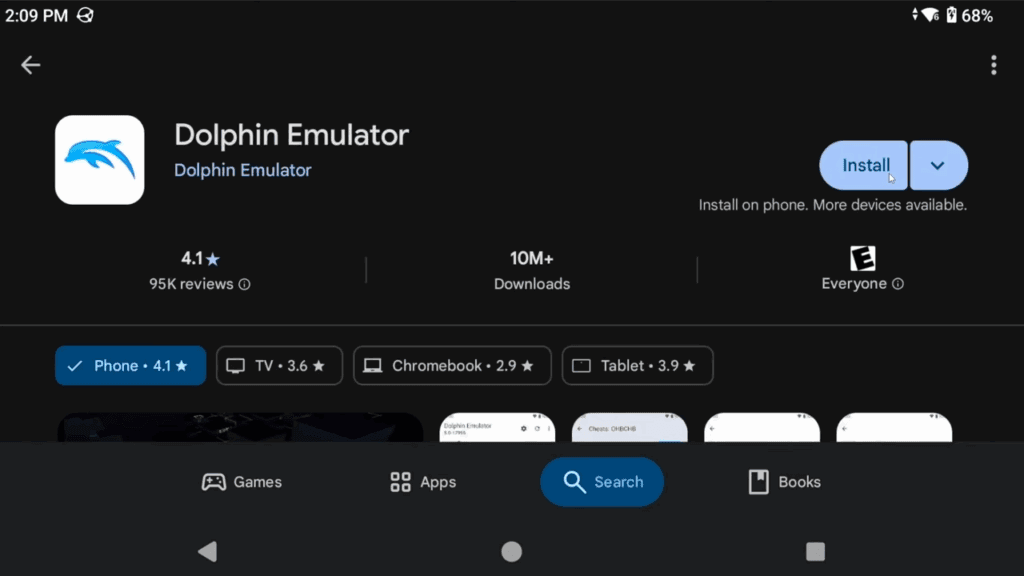
It’s always up to date with the latest stable versions and stays up to date, so it’s simple.
Click Play and then you can either say yes or no to usage reporting.
First thing you should know is the tabs – we are in the GameCube tab, but you can move to the Wii tab.
Adding Games
Let’s move to GameCube tab and then click Add Games bottom right.

Navigate to your gc folder that has your GameCube games and choose select this folder.
You should now see your GameCube games start to populate.
Head to the Wii tab and repeat if you have Wii games with your Wii games folder.
If you’ve ever tried to use a frontend like EmulationStation or Daijisho or something else, and you didn’t do this first step, then your games will never ever launch.
Settings
Alright, before we jump into any games, we need to adjust some settings so go to the Settings cog top right.
Then head to Config. And then General.
General – Enable Cheats & Savestates
First, let’s Enable Cheats because we likely want to use cheats and at least today, I’ll be showing them.
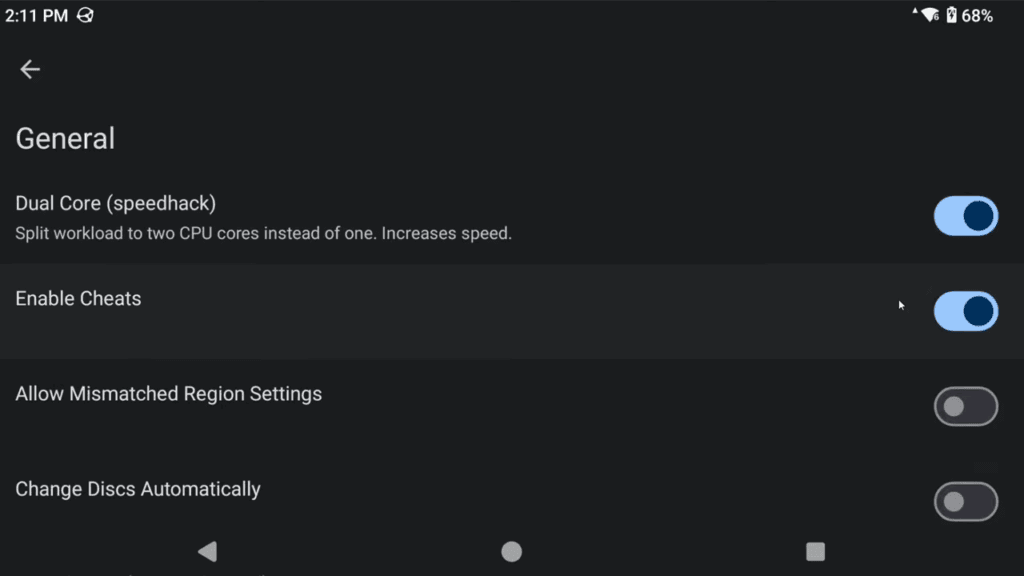
Scroll down and you can enable savestates if you want. I would suggest not using these, they can really break some things – even some games like Paper Mario, if you use save states, you can’t save in-game anymore, it’s a weird bug.
Not sure if they ever fixed that. Anyway, I warned you, up to you.

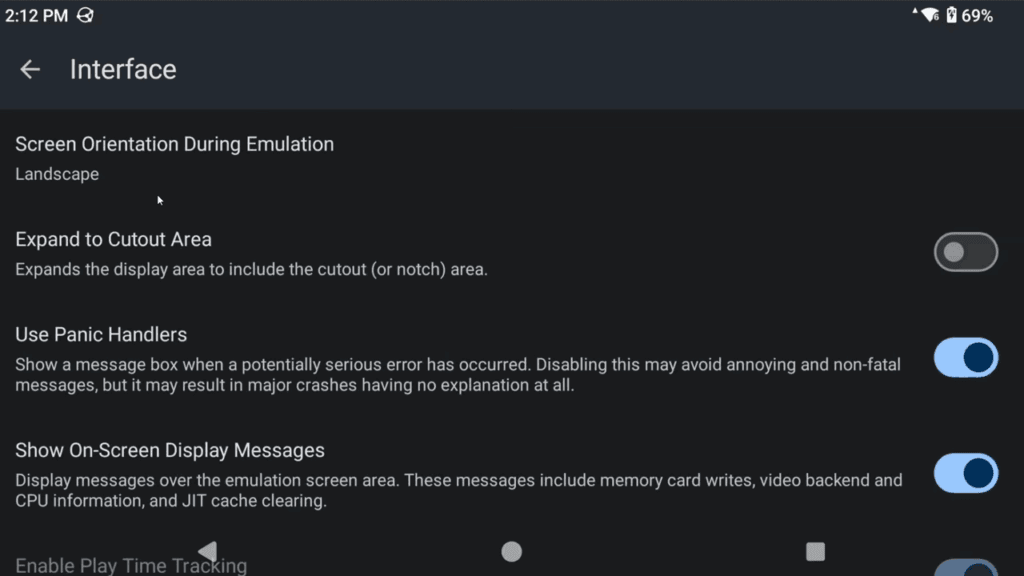
Interface – Screen orientation & Theme
Back out and head into Interface.
You can adjust the orientation to fix it here, expand to the cutout area or adjust the theme.
Paths – Games in subfolders
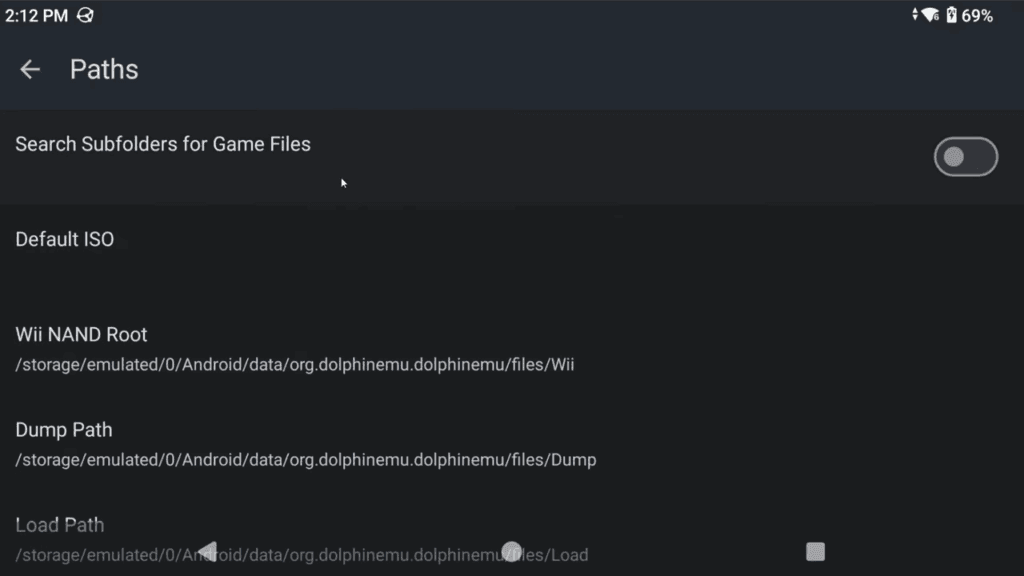
Back out and head to Paths and if you happened to store your GameCube games in another folder in your GameCube folder, you can enable search sub folders here.
User Data – Import/Export your data
Back out and head to User Data.

This is slightly important.
You can use the built in exporter here if you ever want to export all your data and then import it again on another device, or reinstalling Dolphin and so on.
They put this here because it’s hard to get to the files which is behind Android’s data storage, although usually you can use an app like ZArchiver off the Google Play Store which can do it in a lot of cases.
Anyway, it’s an option for exporting and importing.
Graphics Settings
Back out twice and head to Graphics Settings.
Here’s the big one, you typically want to use Vulkan here as the video backend, but you can change this on a per-game basis if you’re seeing weird issues with specific games and I’ll show that later.

Otherwise, enable Compile Shaders Before Starting to reduce stuttering.
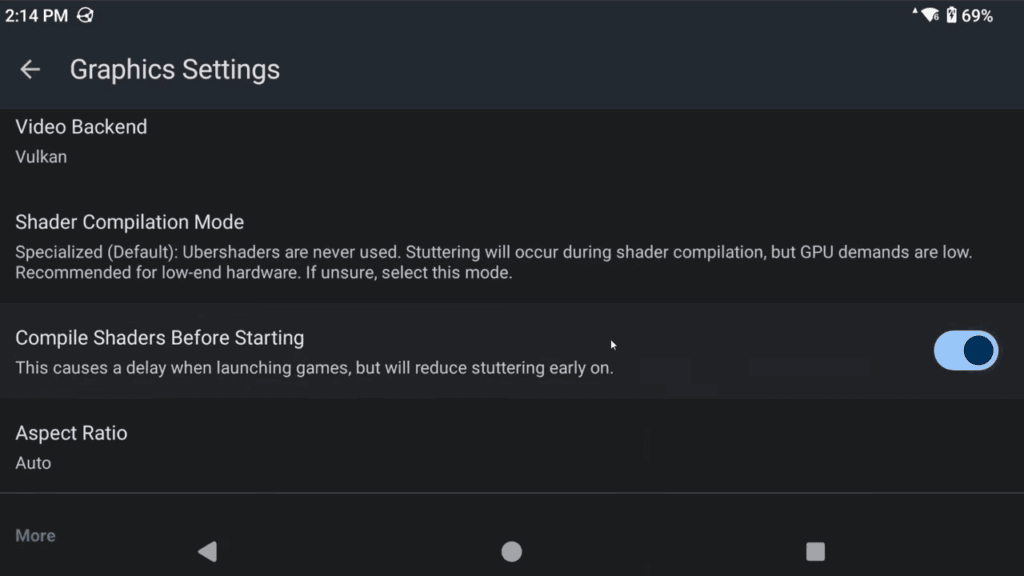
Leave Aspect Ratio on Auto globally, we will look at changing this later per-game.
Enhancements – Upscaling
Head to Enhancements.
First up, upscaling.
If you have a powerful device, you can upscale the resolution here – I’ll be doing so to 1080p since I do have a powerful device and that’s my screen resolution.

You can also change this per-game later if you find some games work better than others.
Scroll down and let me show you the first new person mistake I see people do and that’s enabling widescreen hack here.
It even tells you, do not use this, I actually don’t know why they haven’t removed it yet. Never enable this, I’ll show you proper widescreen hacks later.

Hacks – Increase performance
Back out and head to Hacks.
There is one option here called VBI Skip which can help speed up a lot of games that aren’t running well.
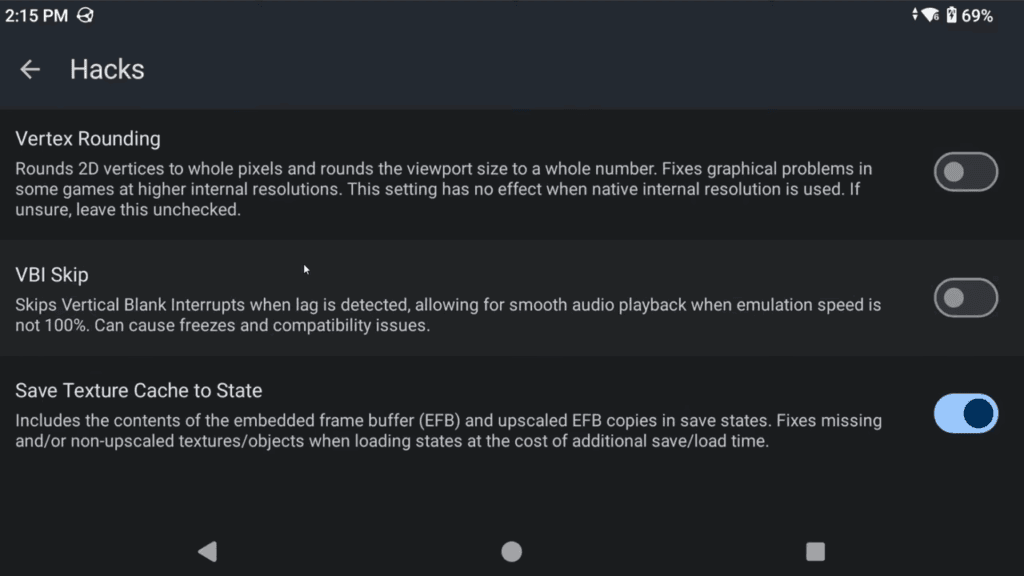
Don’t enable this globally, but you can try it per-game later.
Statistics – Show Framerate
Back out and head to Statistics.
If you want to see Framerate information and things like that, enable the first three.

Or more if you want more information, I usually do the first three.
Advanced – Enabling HD texture packs
Back out and head to Advanced.
If you plan on doing HD texture packs, or even if you don’t, enable the first three here.
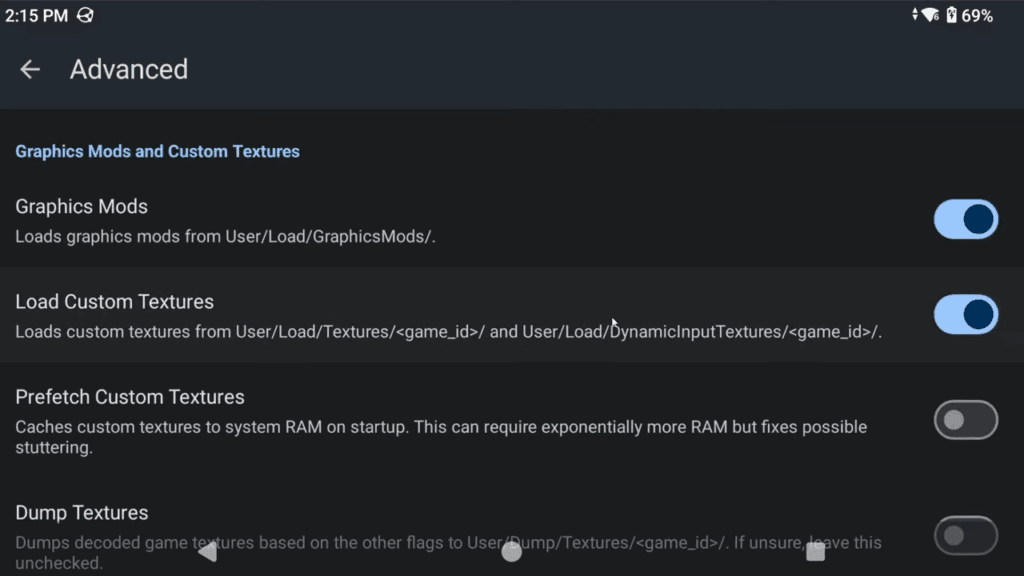
Important note about Prefetch Custom Textures – only enable this if you have at least 8GB of RAM, although I have seen it cause problems even on devices with that.
Basically, enable this – but if you find that you’re loading HD texture packs and they’re crashing the game within the first 30 seconds, then disable this as it’s likely the cause.
GPU Driver
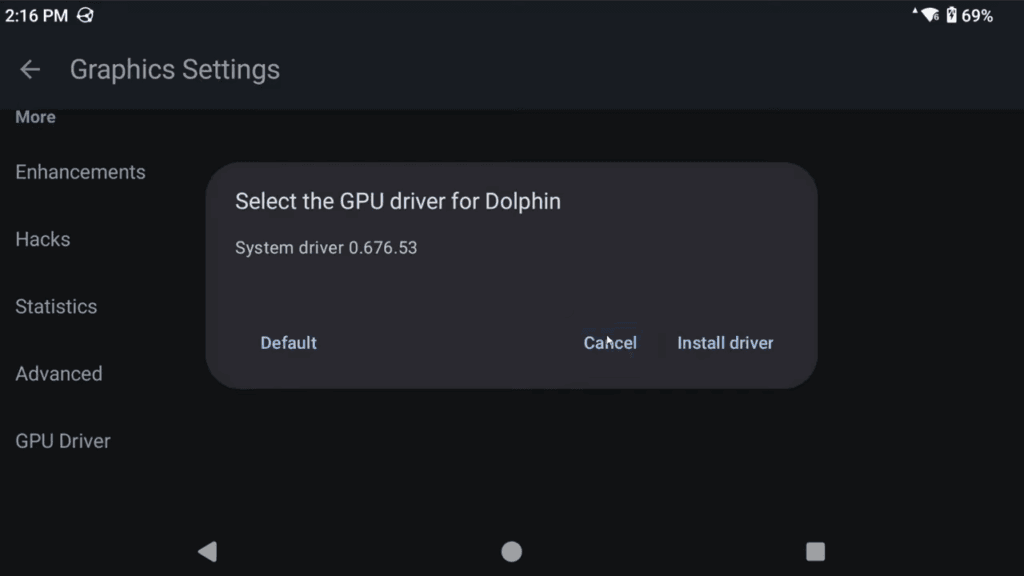
Back out and there is an option here for GPU driver, but I’ve yet to see a real reason to use this on most devices – Dolphin really isn’t that hard to run, especially on Snapdragon devices where GPU drivers matter.
GameCube Input
Back out and let’s head to GameCube Input.
Click the Settings cog on the right.
This is where we’re going to map your controls for GameCube, so if you’re using a controller, make sure it’s connected of course, you may need to restart Dolphin if it wasn’t already connected.
Make sure that Device is your controller or handheld.
Scroll down and start mapping GameCube controls to your handheld.
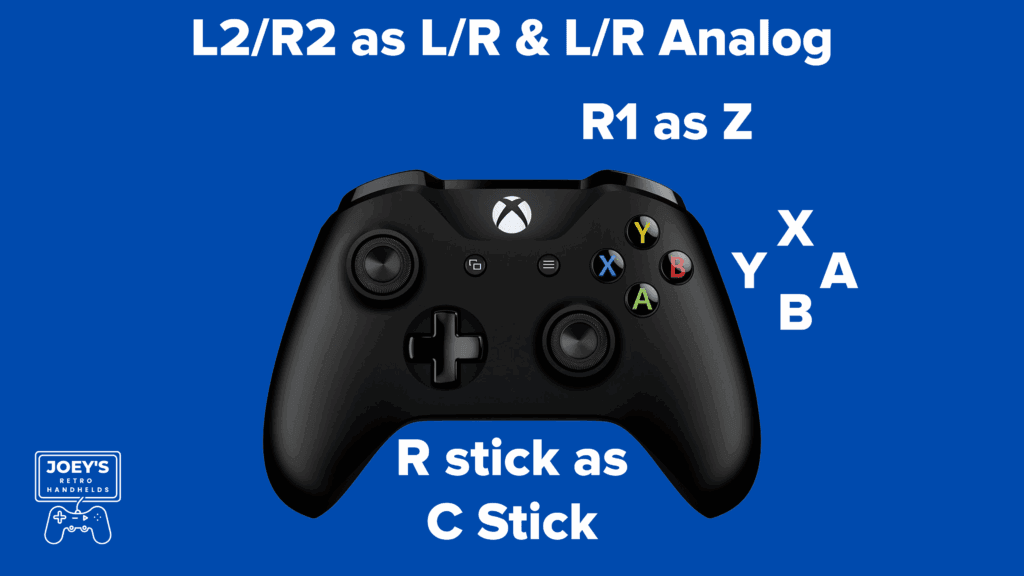
Scroll down for a visual reference if that helps you more.
- A – Right face button
- B – Bottom face button
- X – Top face button
- Y – Left face button
- Z – R1
- Control Stick – Left analog stick
- C Stick – Right analog stick
- L/R – L2/R2
- L-Analog/R-Analog – L2/R2
- Dpad – Dpad
Save your profile
Lastly, scroll up and click Profiles and save this as a profile.
I’m just going to call it General.
You may be wondering why – well, if you ever want to use different controls for a game, maybe you map things different for a single game or you want to, a good example being Dance Dance Revolution Mario Mix, then you can create profiles for different scenarios and later on we can set which games to use which controller profile.
Wii Input
Back out a few and now let’s go into Wii Input.
Same thing, settings cog on the right.
This is where we’re going to map your controls for Wii.
Scroll down for a visual reference if that helps you more.
Once again make sure your device is chosen.
Wii Remote
Scroll down and under Wii Remote click Buttons.

Okay so here’s how you map this.
- A – Bottom face button
- B – Left face button
- 1 – Top face button
- 2 – Right face button
- Select/Start – Select/Start
- Dpad – Dpad
Back out and now go into Motion Simulation.

Point is what is going to control the point for Wii, so think the cursor in Mario Galaxy.
- Point – Right analog stick
Scroll down and make sure Relative Input is checked.
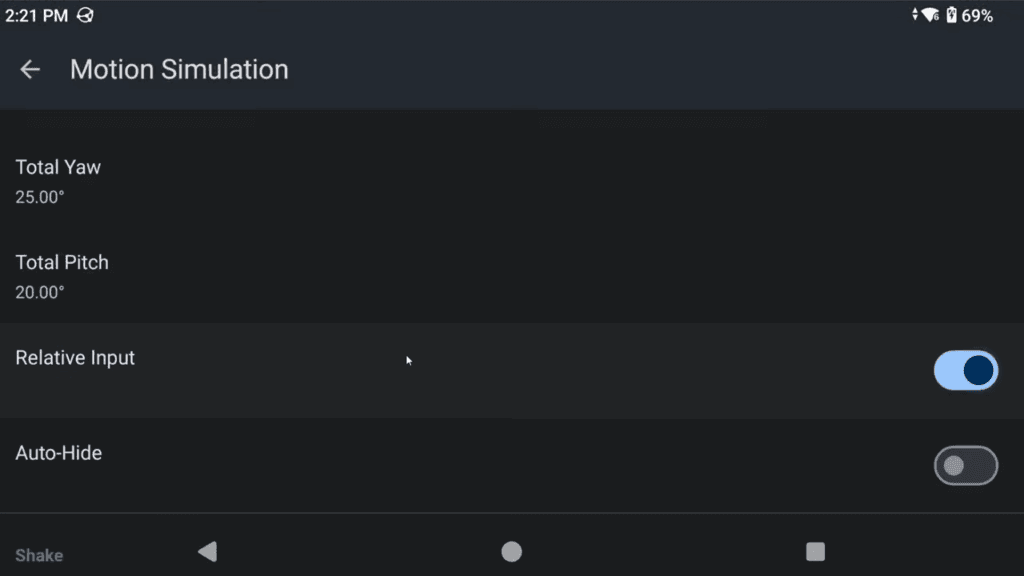
Now for Shake, we are going to set X Y Z as R2.
- Shake XYZ – R2
Nunchuck Extension
Back out and now let’s go map the Nunchuk extension first, but we will also be doing the Classic controller later.
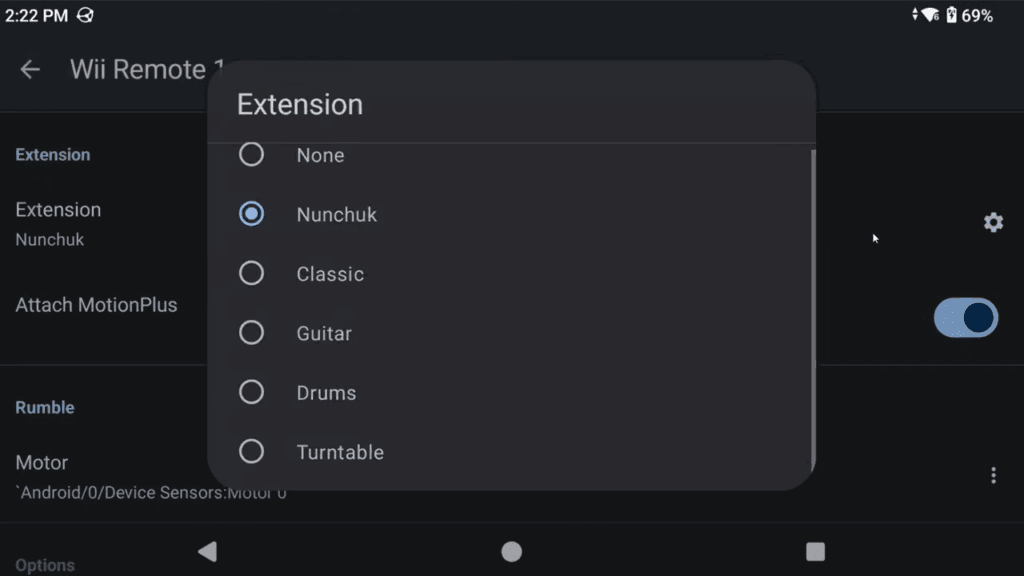
Make sure Nunchuck is selected then click the Settings cog on the right.
- C – L2
- Z – L1
- Stick – Left analog stick
- Shake XYZ – L3

Head back and change the Extension to Classic and then click the Settings cog so we can map that now.
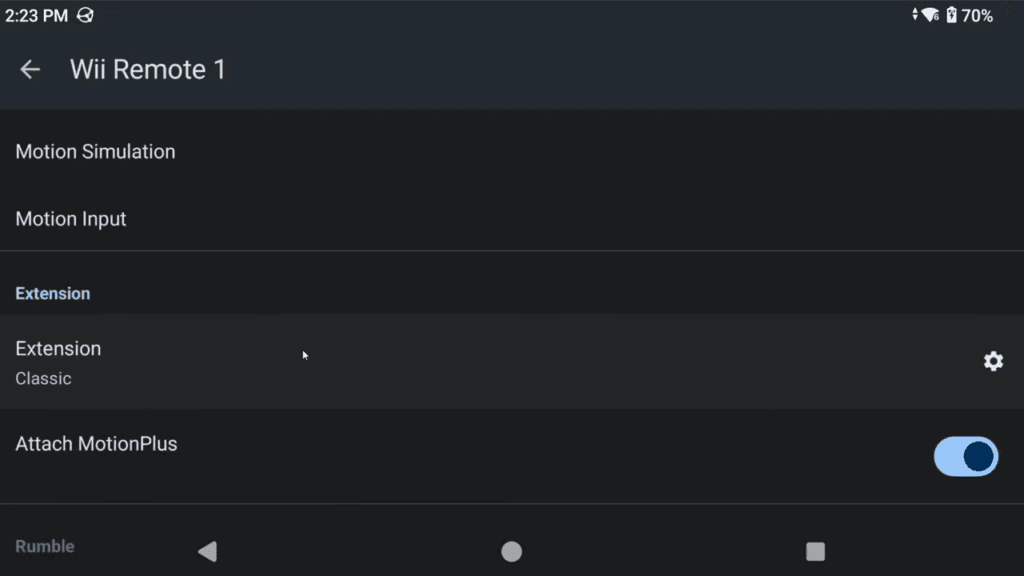
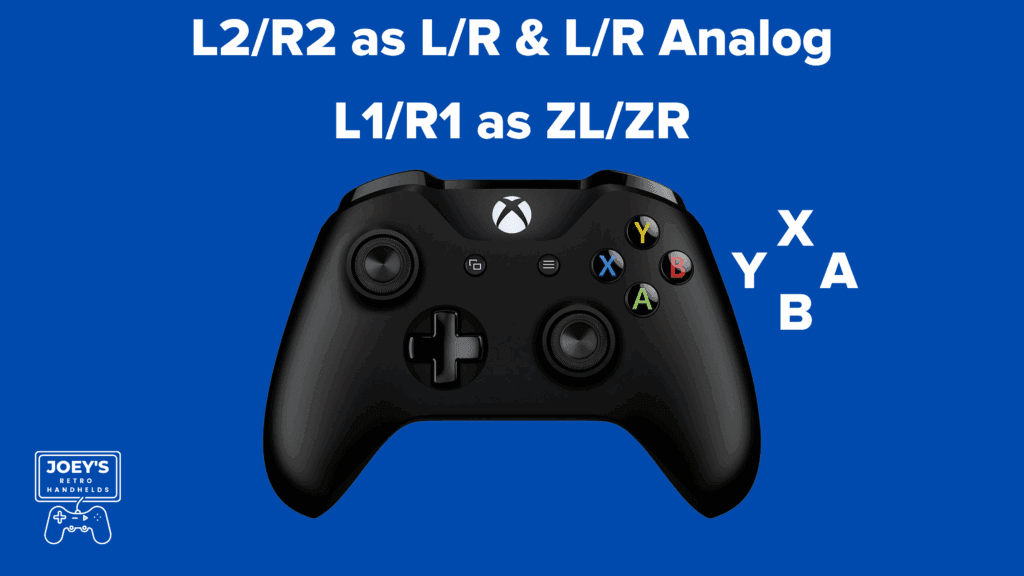
This is a lot simpler, map your controls to a Classic controller.
Scroll down for a visual reference if that helps you more.
- A – Right face button
- B – Bottom face button
- X – Top face button
- Y – Left face button
- ZL/ZR – L1/R1
- Select/Start – Select/Start
- Left stick – Left analog stick
- Right stick – Right analog stick
- L-Analog/R-Analog – L2/R2
- Dpad – Dpad
Save your profile
Back out and scroll up and let’s save this as a profile once again, and I’m going to call it General Wii.
In-Game
Back out to the main screen and let’s launch a game by just clicking it.
Remove on-screen touch controls
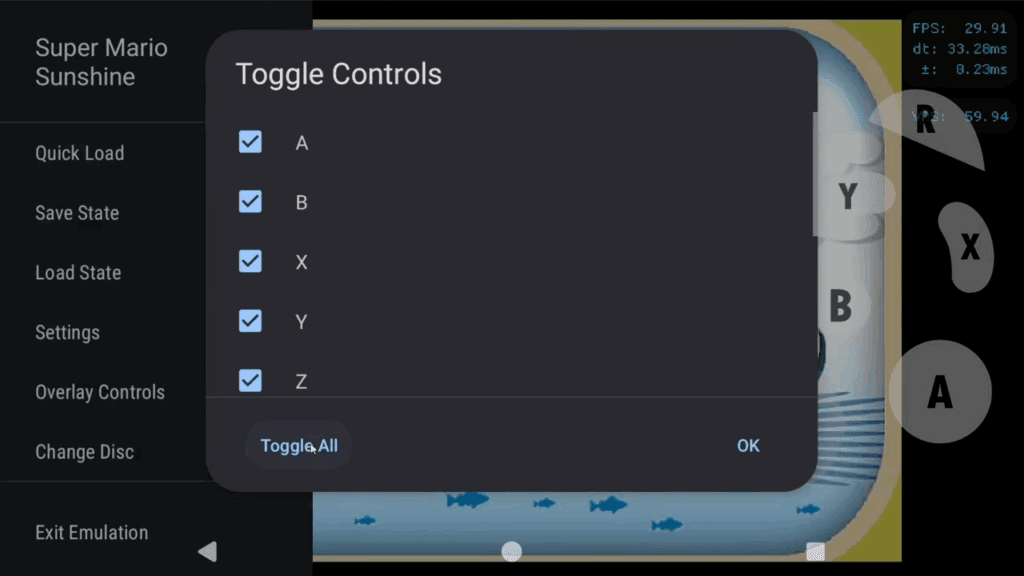
First thing you’ll notice is on-screen touch controls and no one wants that, so let’s remove them.
Bring up the in-game menu by pushing the Back button on your handheld or controller if you have that, or swipe up and use the back arrow or use the back gesture.
You can now do a few things, save states and all that, but head to Overlay controls > Toggle controls and Toggle all to remove all the on-screen controls.
Adjust settings in-game
Next up head to Settings.
You can adjust settings here globally while in a game, but you rarely want to use this unless you want to turn off Framerate information for example.
Choose Exit emulation when done.
Per-Game Settings
Let’s talk per-game settings, push and hold on a game to get that games menu and head to Edit Game Settings.
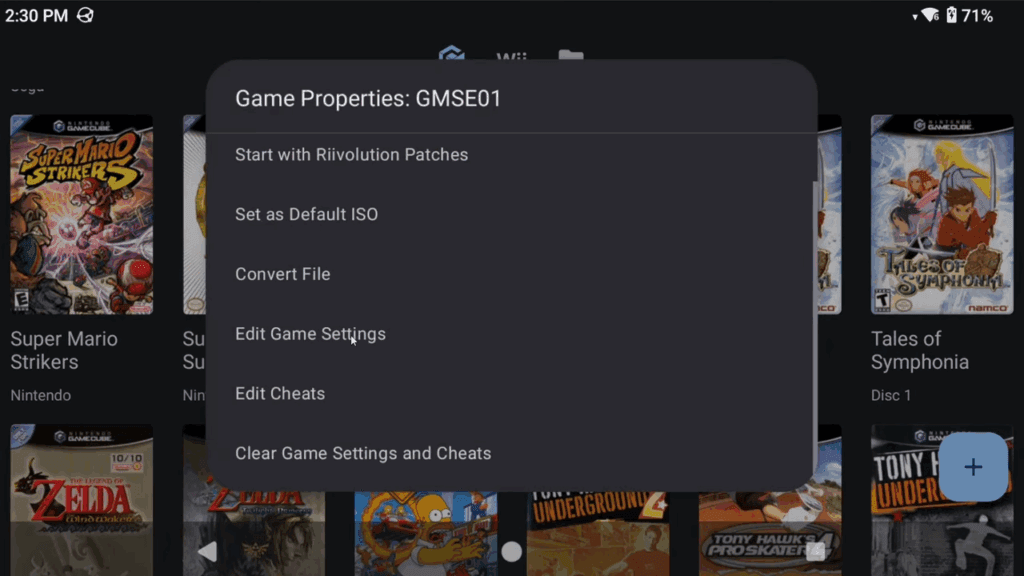
If we head to GameCube Input then the cog, you can see here is where we would set whatever controller profile we want for this game – we only have one so we don’t need to do this, but using my previous example earlier, you may run into games where you want a specific profile and this is how you set it for that game.
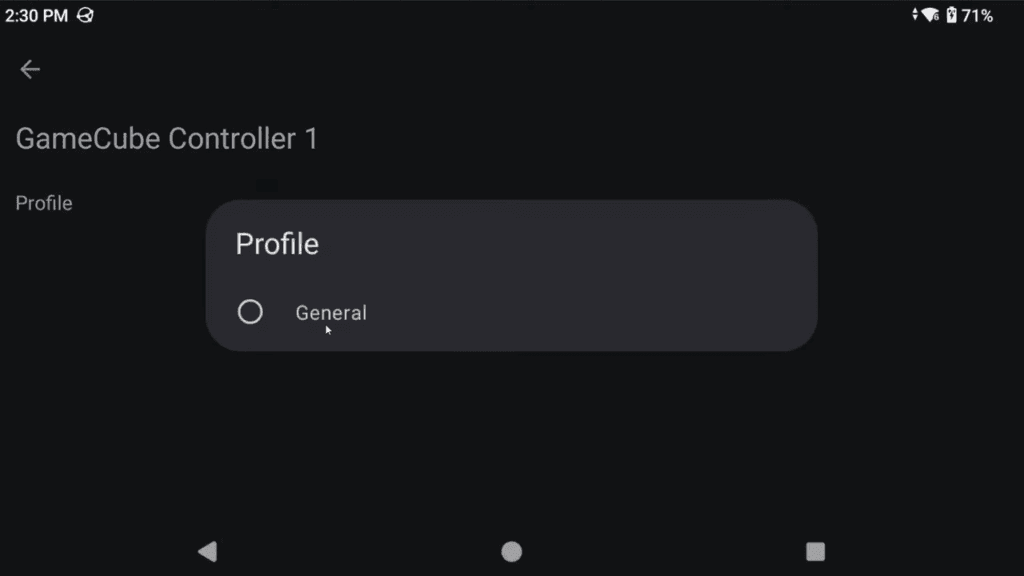
But if you head back and into Graphics Settings, this is where you can adjust settings for this specific game, so maybe OpenGL is better than Vulkan, maybe you want VBI Skip on for better performance and so on.
One quick example of this is F Zero GX.
By default, F Zero doesn’t have Dual Core enabled, but you need this enabled for it to run well on a lot of devices.
The trade off is you’ll get more crashing. It’s a hard game.
But you can enable this and test it for that game if you want.
Changing controls for Wii
Let’s boot up a Wii game now.
I’m here in Radiant Dawn and just by the luck of the draw, it’s using the Classic controller because that’s the last one we chose and mapped.
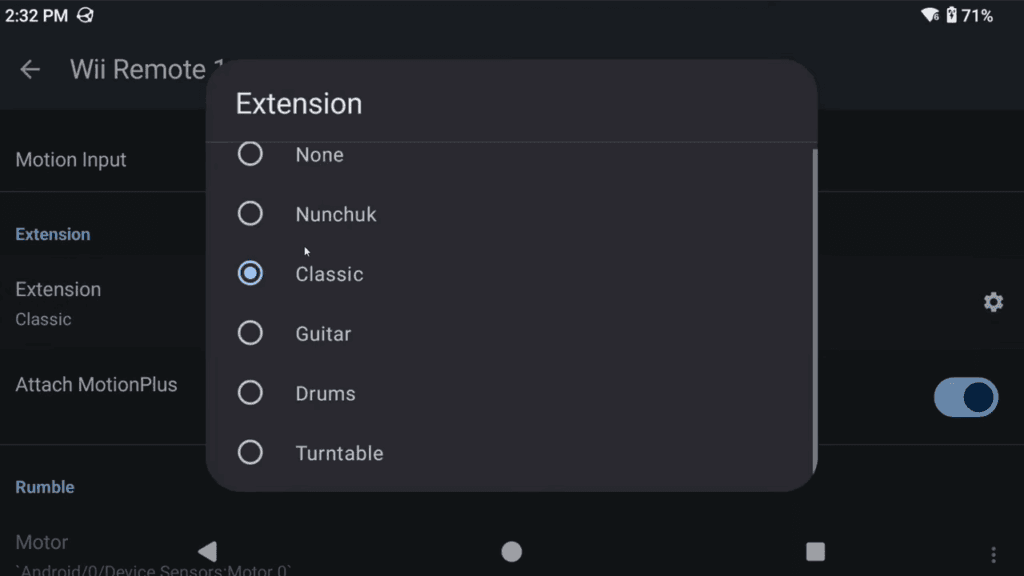
But what if you booted this and it was using the Wii remote and you wanted to use the Classic controller instead?
Open the in-game menu, go to Settings > Wii Input > settings cog > scroll down and check what extension is enabled.
I’m using Classic, so we’re good, but if I change this to Nunchuk for this game, I can use that instead now.
Sideways Remote profile
I don’t think anyone would want to use the Wii remote for this game, but if you did, you’d want to create another profile with Sideways Wii Remote checked under the Wii Remote settings since that’s what Fire Emblem wants here.

You may run into other Wii games with that setup.
Mario Galaxy controls with this guide
Our right stick controls the pointer on screen, bottom face button is A or jump. L1 is crouch or ground pound, R2 is shake for spin, left face button is firing star bits and that’s it.
HD Texture Packs
Alright let’s talk about HD texture packs now and you can find a whole bunch on the Dolphin emulation forums.
There’s a ton of games with HD texture packs and each thread will have different instructions.
Let’s use Paper Mario The Thousand Year Door as an example.
Go ahead and download the texture pack from the link in the first post, the one labelled DDS Resource pack.
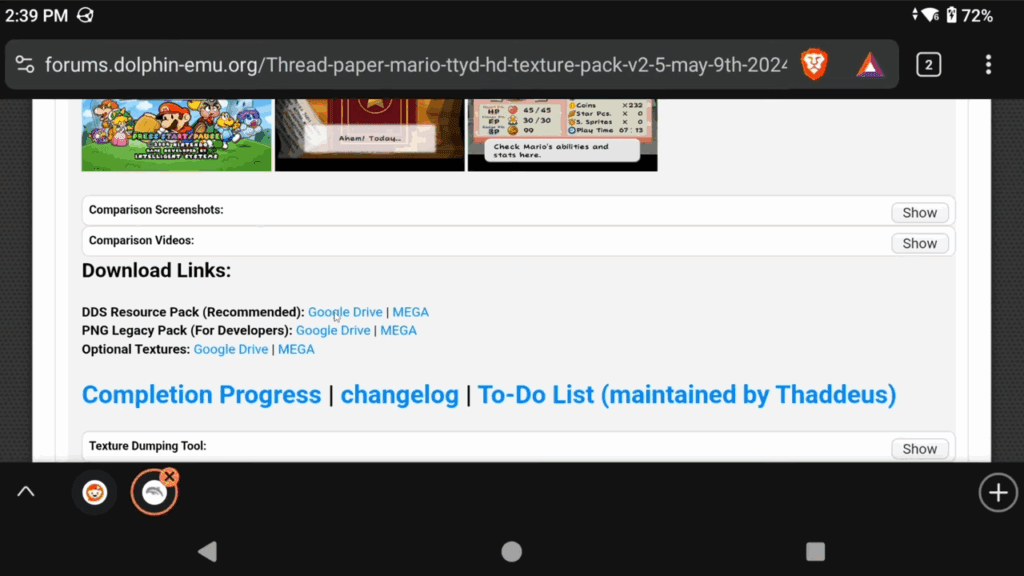
Then you want to extract that zip, and I’m using Solid Explorer to do so, but ZArchiver which is free also works.
But we now have to pause because there’s a special note here.
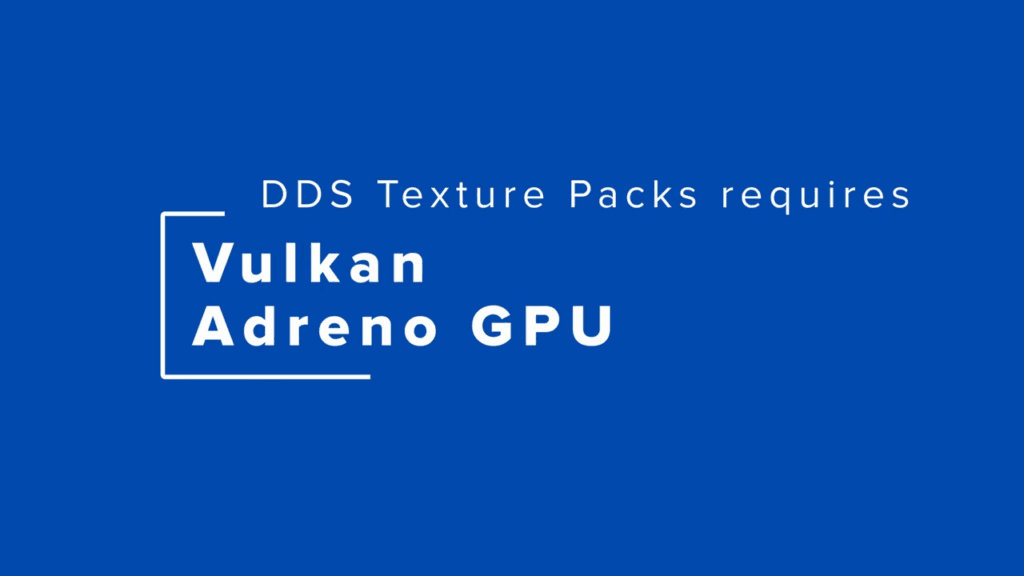
DDS resource packs mostly only work on Adreno devices, AYN Odin 2’s, Retroid Pocket 5, Flip 2 and Mini and so on.
If your device isn’t a Snapdragon device, this likely will not work.
You can try the PNG Legacy Pack option in that scenario, but that uses more RAM, loads slower and isn’t as good performance wise.
Where to put HD texture packs?
Next up, let’s move the HD texture pack and it needs to be placed in the texture folder inside of the Dolphin folder.
So to get there, go to Android > data > org.dolphinemu > files > load > textures folder.
Move the G8M or game id folder right over.
It’ll take a while to move, mine did.
Once it’s finally moved over, assuming you’re using Vulkan and assuming you enabled load textures earlier in today’s guide, when you load the game, it should say Loading and a large number custom textures.
Don’t count on this though as it’ll even say that when it’s not working.
You will unfortunately have to use your eyes to know if it’s working, which you can easily tell for any good HD texture packs like this one.
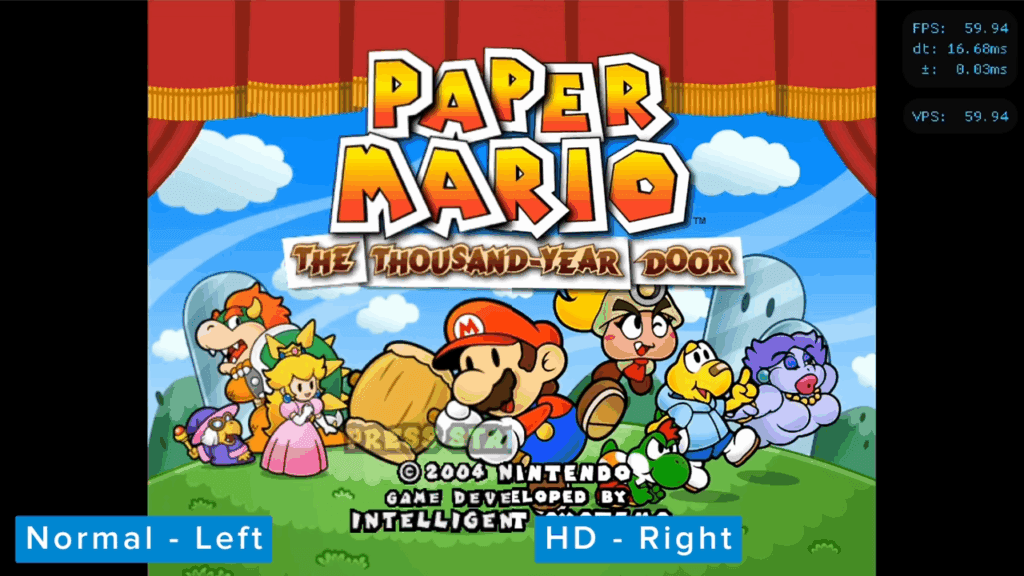
Here’s a side by side, left is the texture pack and right is the original – the text is the dead give away on the title screen.
Widescreen
Next up is widescreen hacks and thankfully, Dolphin actually added this into their Android build finally.
So, push and hold on a game then select Edit Cheats.
Scroll all the way down to the bottom, under Gecko codes and you should see some variation of 16:9 or Widescreen.
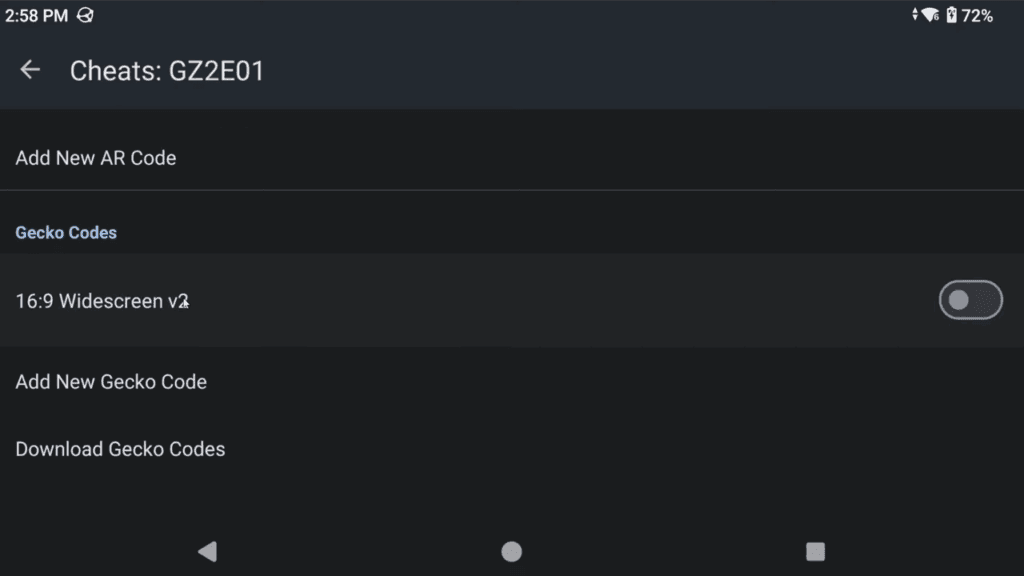
Enable it, and then back out and into Edit Game Settings > Graphics Settings, and change the Aspect Ratio to Force 16:9 for this specific game.
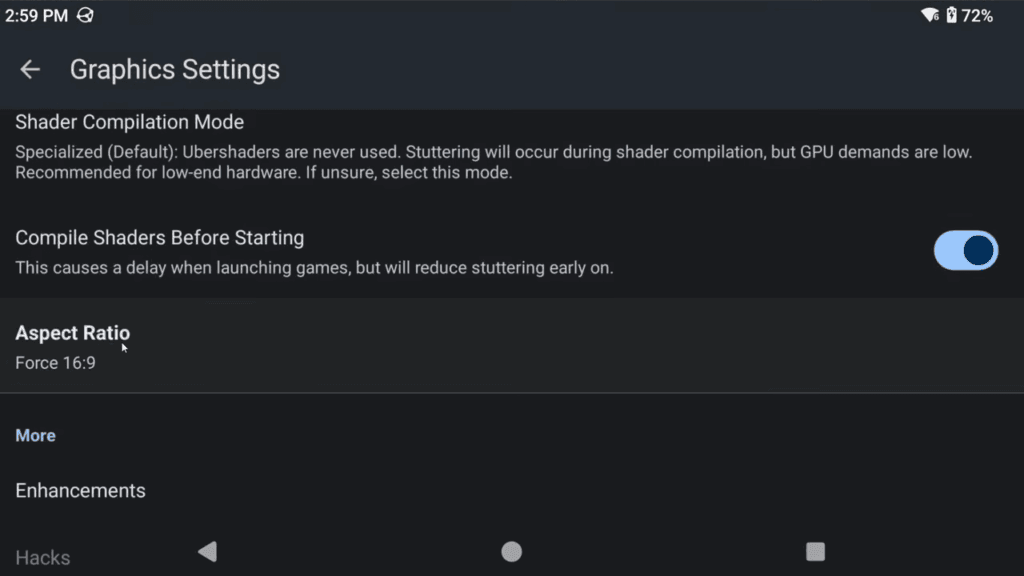
Boom, we have perfect 16:9 widescreen hack applied.
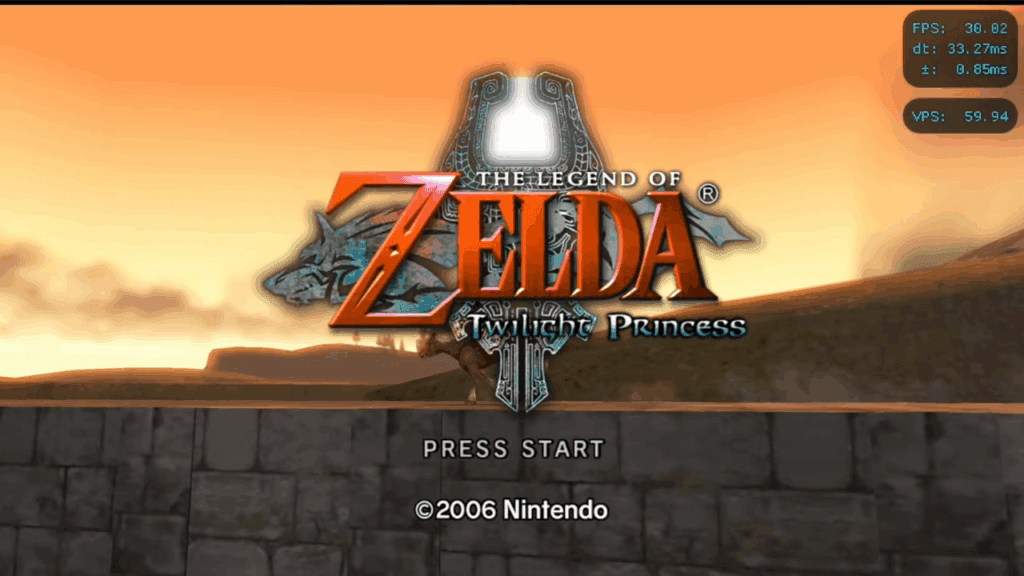
Rinse and repeat for any game you want.
Games with native widescreen support
Just quickly – there are some GameCube games with native widescreen support which you may just want to use that instead, like F-Zero GX for example.
You can set widescreen in the settings of the game and use that properly.
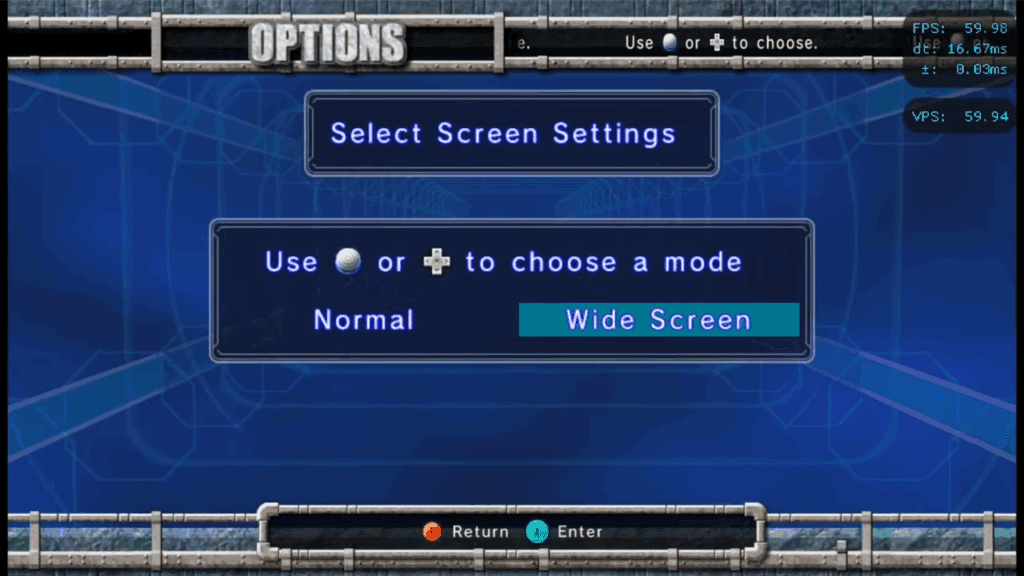
If you do choose to do this, avoid enabling the widescreen gecko code for that game and instead just force 16:9 as the aspect ratio for that specific game to have it display properly.
60FPS
60FPS hacks are in the same spot – here’s Super Mario Sunshine, which has Widescreen and 60FPS codes right here.

Just enable them both, force 16:9 and enjoy some awesome Mario Sunshine.
Cheats
Now since we’re here, let’s talk cheats since this is all in the same area.
Click Download Gecko Codes to download even more cheats than what already exists in this cheats menu.
Just enable whatever you want and enjoy.
Twilight Princess tip
Special tip – you do want to use the Hyrule Field Speed Hack cheat if you plan on playing Twilight Princess – it’s basically a must on any device to avoid slowdown.
Where is all your data, savedata and more stored?
And last thing for today is where to find all your data and everything.
Reminder again, some devices may not be able to see this information because of Android’s data lockdown, but you can try using an app called ZArchiver to do so and if you can, you’re lucky.
But, head to Android > data > org.dolphinemu > files and this is where all your data is stored.
GameSettings has any special game settings you’ve done like enabling cheats, widescreen hacks, 60fps and so on or custom game settings.
GC folder has all your GameCube saves, so USA Card A you can see them all as a gci format, in case you ever want to load outside saves.
Load folder and the textures folder has your HD texture packs.
Wii folder and the title folder inside is all your Wii saves.
Syncthing
Dolphin can easily be sync’d across all operating systems using Syncthing.
Man that Error on Line 1 thing is so annoying. I sure wish Dolphin was more lenient with the syntax especially considering these are the codes on their own wiki.